When it comes to learning how to code, I’ll admit, it’s quite handy to have some sort of training book or access to online tutorials. The books tend to be on the pricey side, so I often times spend more time learning from online training sites. An application called Coda is a pretty basic text editor with an astonishing interface and many nice features included within, one being four books on HTML, CSS, JavaScript, and PHP. Surprisingly, there is a similar feature inside of Dreamweaver which includes a wider variety of topics from ASP.NET to XML. The reason I use Dreamweaver over Coda, is that I have not yet mastered my coding skills to the point where I would be able to write everything by hand. Here’s how to locate the reference books inside of Dreamweaver.
Once you’ve got Dreamweaver opened, go to the Help Menu.
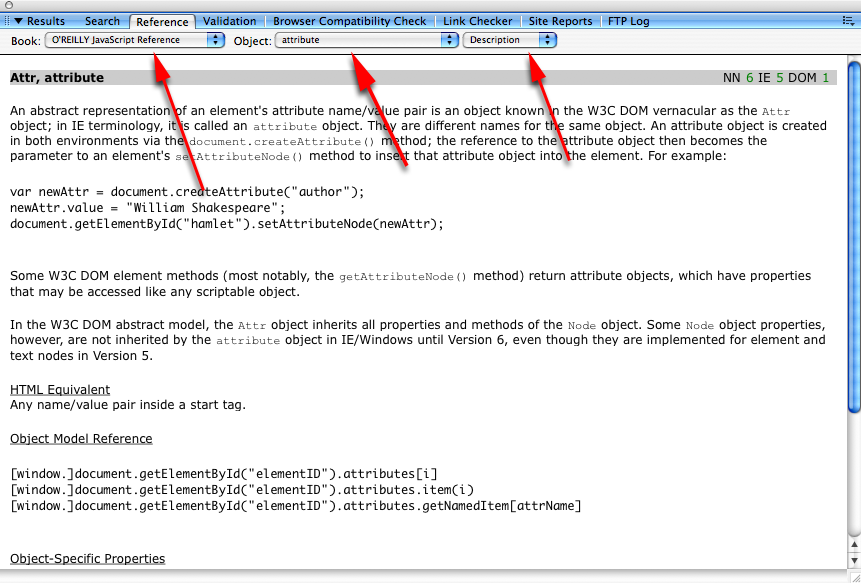
Click on Reference from the drop-down menu.
A pop-up window should appear.
Choose one of the many books from the Book menu and select an item from the two corresponding menus beside it.
Hopefully this makes your coding experience a tad bit easier.
A few weeks ago, Apple released its newest version of the iLife suite. Every time they come out with a new one, there are always nice “to-haves” that are included. With the new version of iPhoto a few new features include: new templates, viewing photo information, user-friendly print settings, and Events. Since the Events feature seems to be one of the most powerful ones, I’ll teach you more on how to get the full potential out of it.
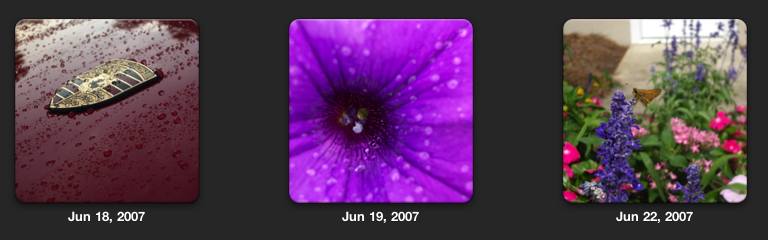
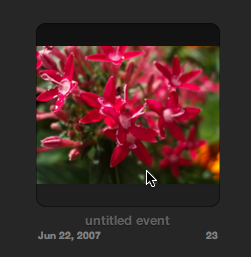
Adding A Nice Reflection To The Photos In The Events Section
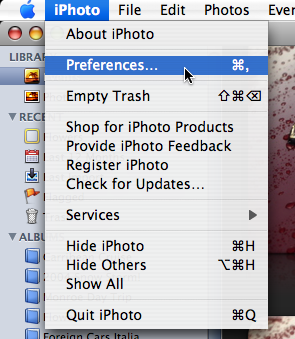
With iPhoto open, go to Preferences under the iPhoto menu.
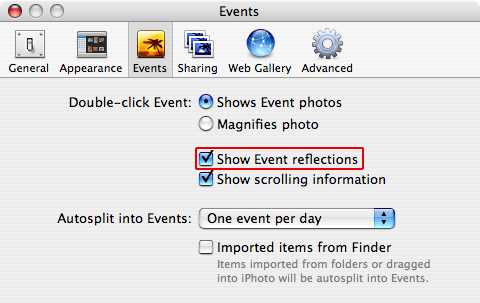
Once you’re in the Preferences window, click on the “Events” section.
You should notice an option labeled “Show Event reflections”, check it off.
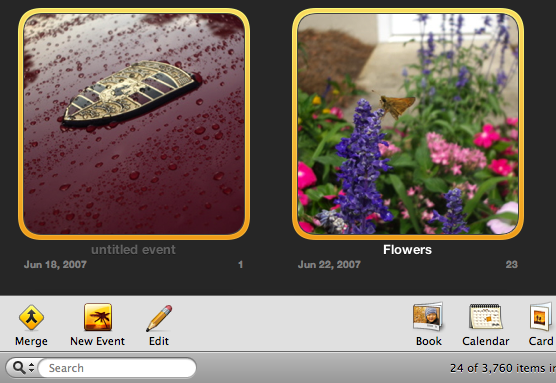
Lets say you took some pictures at different times, but they were pretty much of the same thing. Thankfully, with the Merge feature you can now put similar events together in iPhoto.
Locate the Events that you want to be merged. To select multiple events, hold down the Shift key or the ⌘ (Command) key.
Now click on the “Merge” button on the bottom toolbar of the Event window.
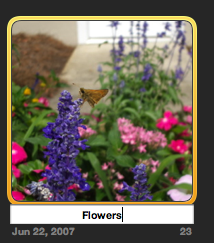
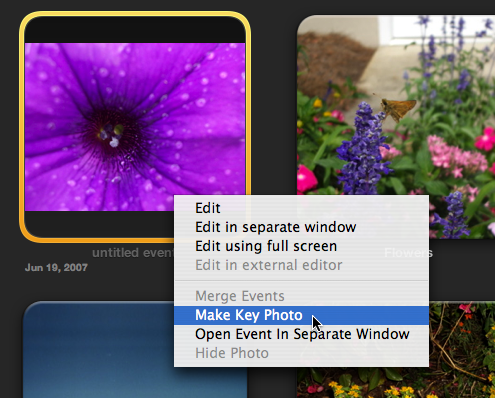
As you may have noticed each event shows a “key photo”, the main photo that you see on the event itself.
If you would like to change this, hover your mouse pointer over an event and use the arrow keys (← →) and when you find a photo you like, right-click on it and choose “Make Key Photo” from the contextual menu.