In TextEdit, Stickies, Mail, and other (Cocoa-based) apps included with Mac OS X, you may have noticed they include a Colors window and a Font window. The Colors window is basically an easy way to view all kinds of colors that you’re going to use. The Font window, of course is a way to see all of the fonts that you can use. There are quite a bit of features in both the Colors and Font window which I am going to explain how to use.
Using The Colors Window
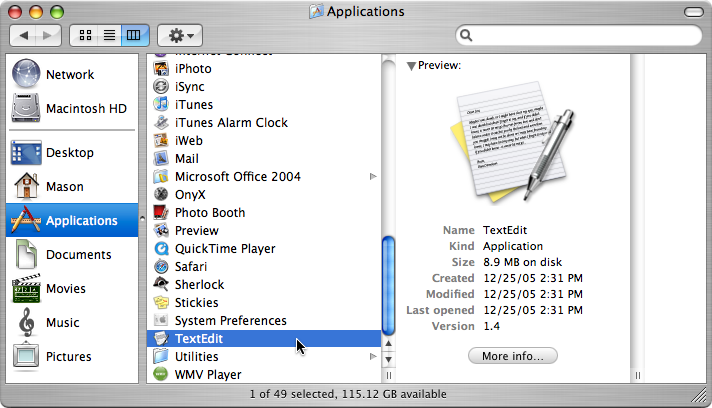
- Open up TextEdit from the Applications folder in Finder.
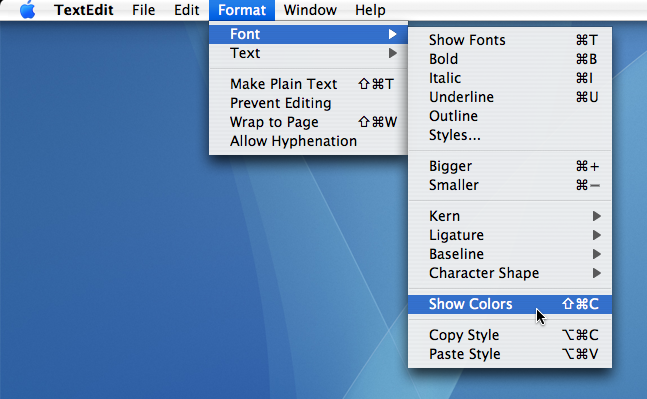
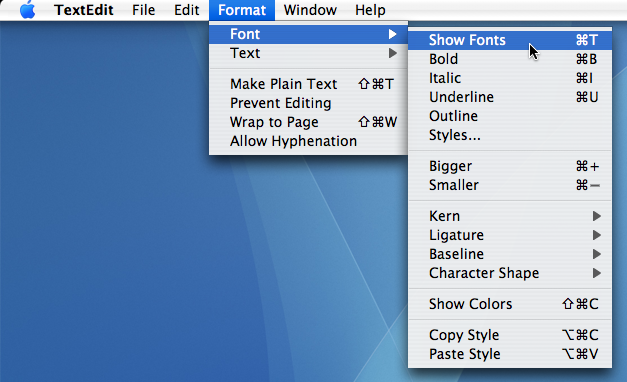
- To access the Colors window in TextEdit, go to Format > Font > Show Colors.
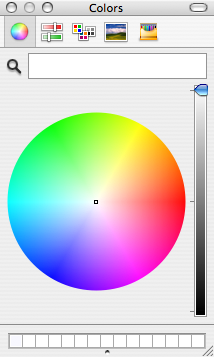
- Then the Colors window opens up with a color wheel showing.
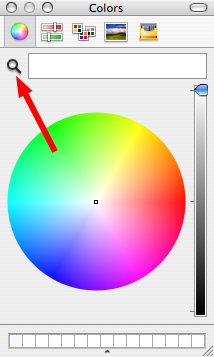
- If you can’t find the color you want using the suggested colors in the Colors window, use the magnifying glass.
- Click on the magnifying glass to activate it, then use your mouse pointer to move it around.
- At the top of the Colors window, you should notice a few icons:
- The first one is a color wheel which is the classical way of choosing colors.
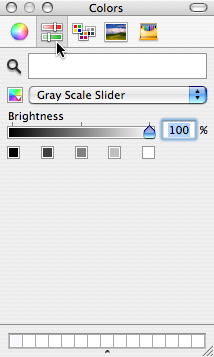
- The second one is color “sliders” which allow you to customize the amount of color you get.
- The third one shows basic colors which makes it easy to narrow down your choices.
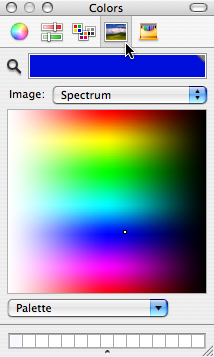
- The fourth one shows a spectrum which gives you the ability to find the perfect color.
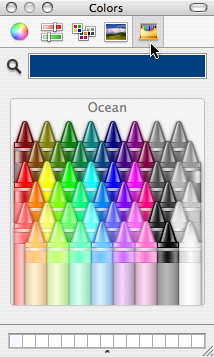
- The last one shows many colors of crayons which is useful if you need to get creative colors.
screenshots: 1 2 3 4 6_1 6_2 6_3 6_4 6_5
Using The Font Window
- Open up TextEdit from the Applications folder in Finder.
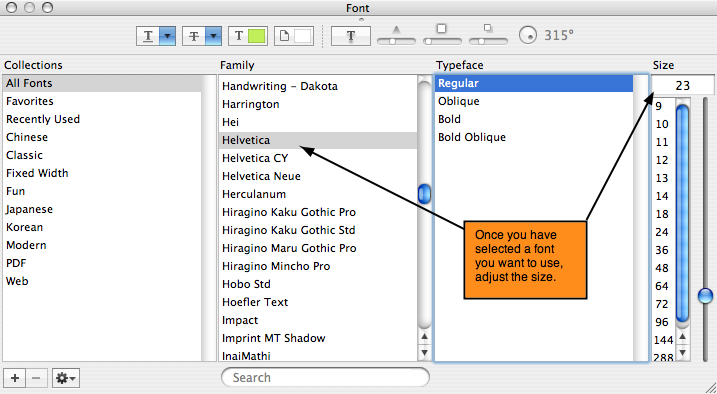
- To access the Font window in TextEdit, go to Format > Font > Show Fonts.
- Choose a font that you like from the list and adjust the size using the size column on the right side.
- You can also make your text interesting with underlining, shadows, and strikethroughs.
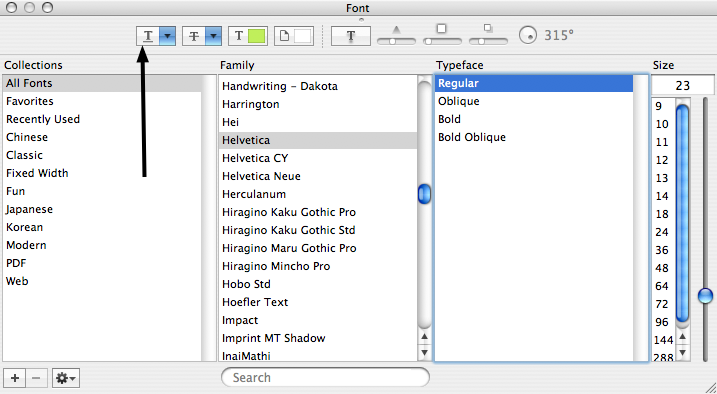
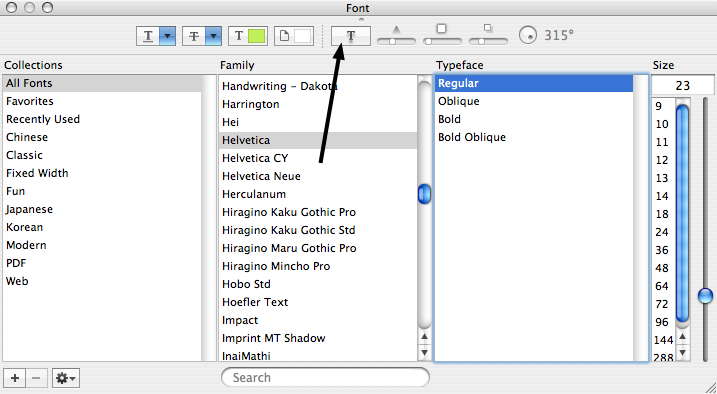
- At the top of the Font window, there are several icons:
- The first icon is an underlined ” T “. This is for underlining text.
- The icon beside that should show a ” T ” with a strike through it. This is if you want to put a strike through any of your selected text.
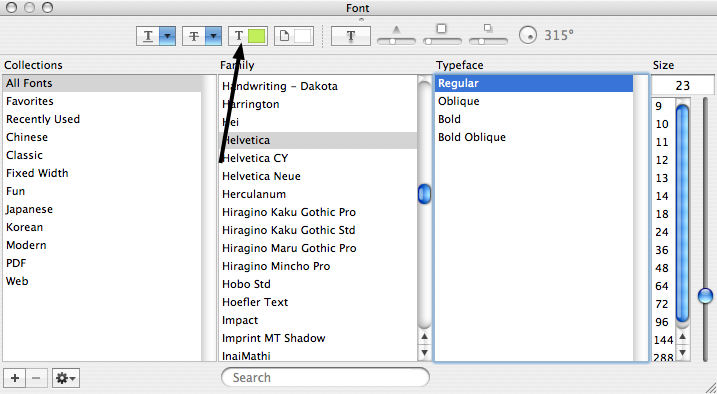
- The third icon should look like a green square with a ” T “. This icon is for selecting the color of text you wish to use.
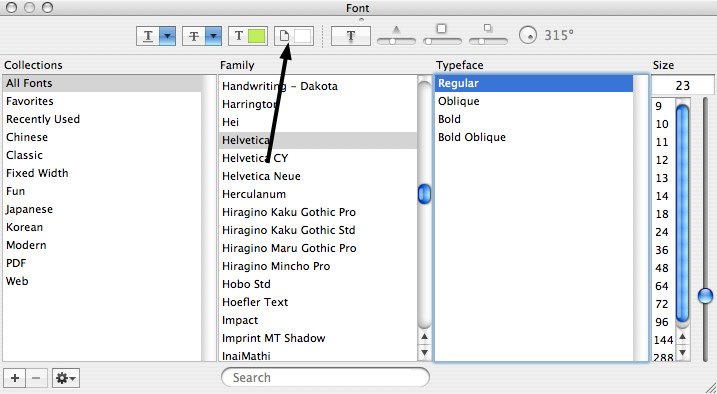
- The fourth icon looks like a “dog-eared” piece of paper with a white square next to it. This icon lets you choose the color of the document.
- The last icon is a ” T ” with a shadow behind it. This allows you to add shadows to your text.
- The following three levelers and the little sphere (with a 315° on it) are for customizing the shadows on the text.
Cindy Leigh
Jun. 6, 2007Wow! This was very helpful! I have been reading many of your beautiful articles and they all seem to be VERY intellectual! I just got a new Mac computer from my dad for the end of school to get ready for my Junior year, and I am SOOO excited! You seem like such a smart man writing all of these by yourself! I bet you’re cute too! :D
Thanks again for all of these wonderfully written articles!