Ever wanted to organize your iTunes library, but just didn’t have the time? Well, when I wanted to organize my iTunes library I had no real idea where to start. Completing this task alone can be done and with these instructions, I’m going to show how:
Checking For Duplicate Songs
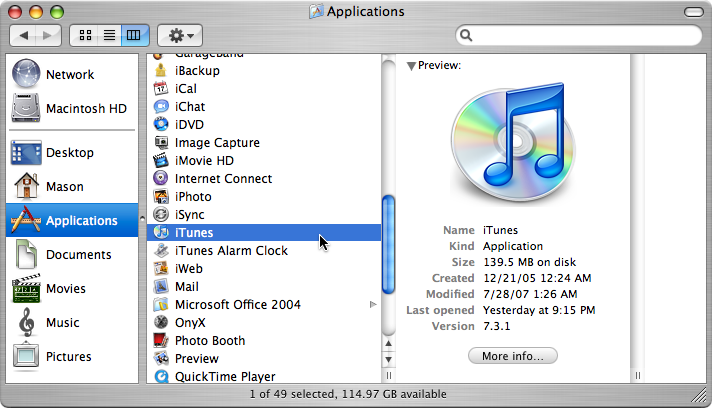
- First, open up iTunes from the dock or your Applications folder.
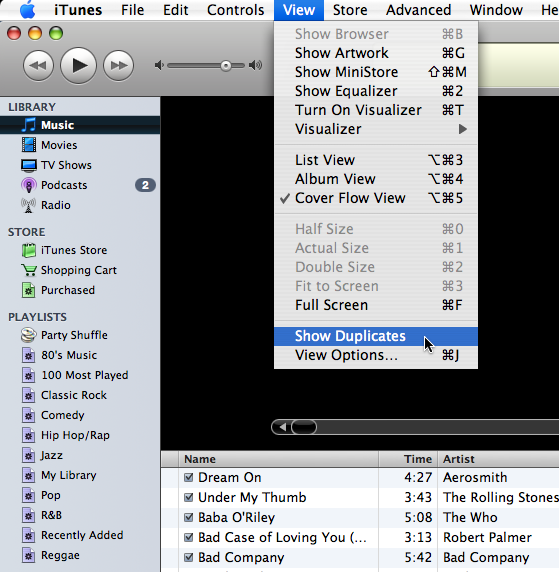
- Once your in iTunes, go to View > Show Duplicates.
- Then all of the duplicate songs that were in your library should appear.
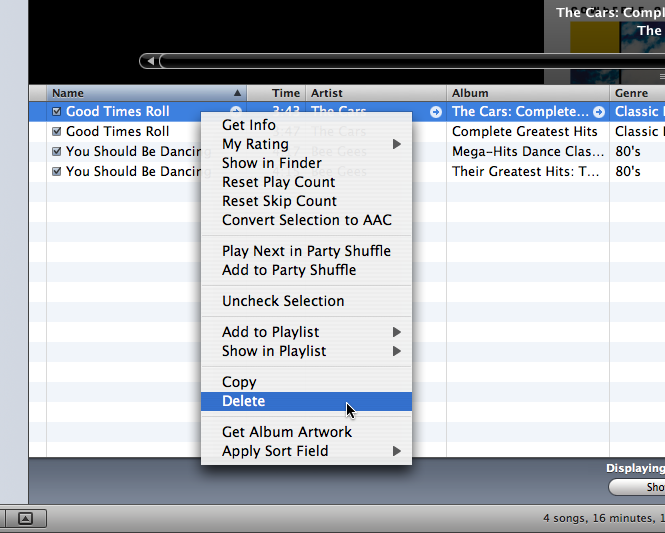
- Remove the ones that are duplicates.
Make Smart Playlists
- Ever since Smart Playlists came out, I stopped using the regular playlists because they just weren’t that great.
- With Smart Playlists, you can better organize your music based on artists, year, time, and it automatically updates every time you import music into iTunes.
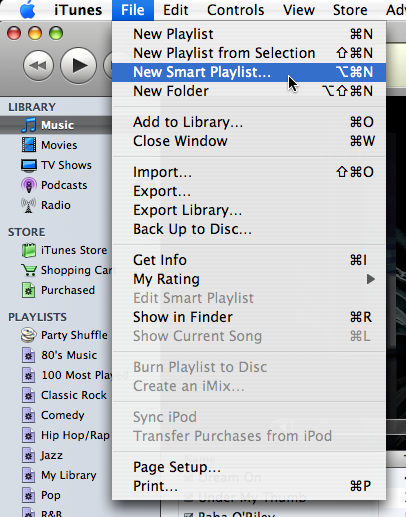
- To create a Smart Playlist, go to File > New Smart Playlist.
- In the Smart playlist window, you will have several options to choose from.
- Let’s say you want an all 80’s music playlist:
- Choose Year under the first drop-down menu and in the second drop-down menu choose is in the range and then put 1980 to 1990.
- Don’t check off Limit to, only check off Match only checked items and Live updating.
- The checked items in your iTunes library will be affected by this Smart Playlist, so be sure you have checked off the songs you prefer.
- Now you successfully setup your first Smart Playlist.
Checking For Duplicate Album Covers
- Last but not least, double check and make sure your songs don’t have multiple album covers, which take up lots of disk space.
- Some of my iTunes songs had multiple covers because before iTunes 7, there was no album cover finder, so I used a widget, which sometimes added more than one album cover.
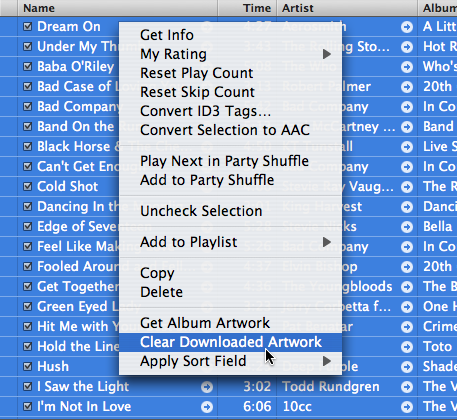
- Go to your main library which should be called Music if you are using iTunes 7 and highlight all of your songs by holding down ⌘ (Command) and the “A” key which selects all.
- Once you have done that, right-click on the songs and select Clear Downloaded Artwork.
- Then you should have no artwork with the songs that had downloaded artwork.
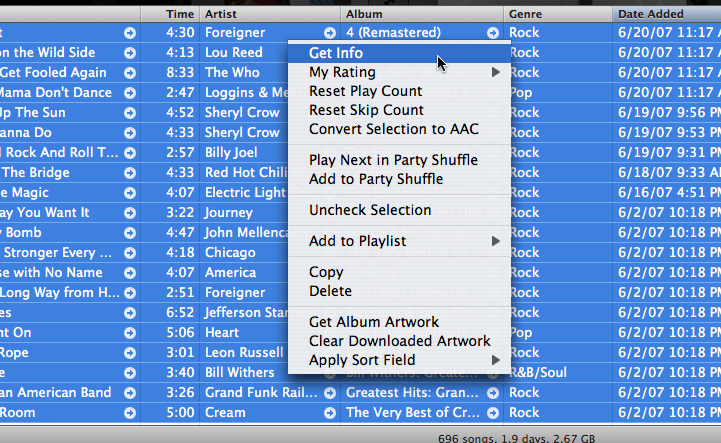
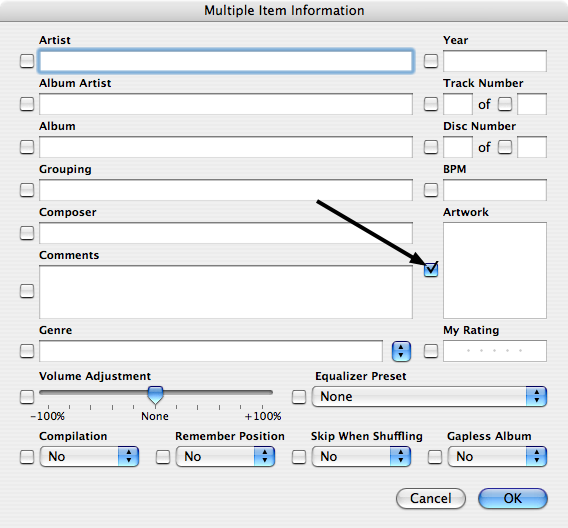
- To remove all existing artwork, select all of your songs and right-click and select Get Info.
- Check the Artwork box in the right side of the Get Info window.
- This will remove all Artwork, not just the downloaded artwork.
- To add album covers to your songs, simply hold down ⌘ (Command) and the “A” key to select all of your songs and click on Get Album Artwork.