
On August 28th, Apple released the long-awaited upgrade to Mac OS X 10.5 — Snow Leopard. Honestly, I was expecting to notice major visual changes, but I was still glad with the subtle changes that Apple added. The first change I noticed beside a different desktop background was the free space I got back on my hard drive, an entire 13GB of space. When using memory-hogging apps like Adobe Creative Suite apps I have noticed they are speedier with Snow Leopard. One of the more noticeable changes made to the user interface was the layout of several panes in System Preferences. I will be touching on that as well as many other features in Snow Leopard that are worth checking out.
Text Substitution
For a long time, TextExpander used to be (and still is) one of the best apps for expanding user-created “snippets”. Now, Snow Leopard can do that within all your apps.
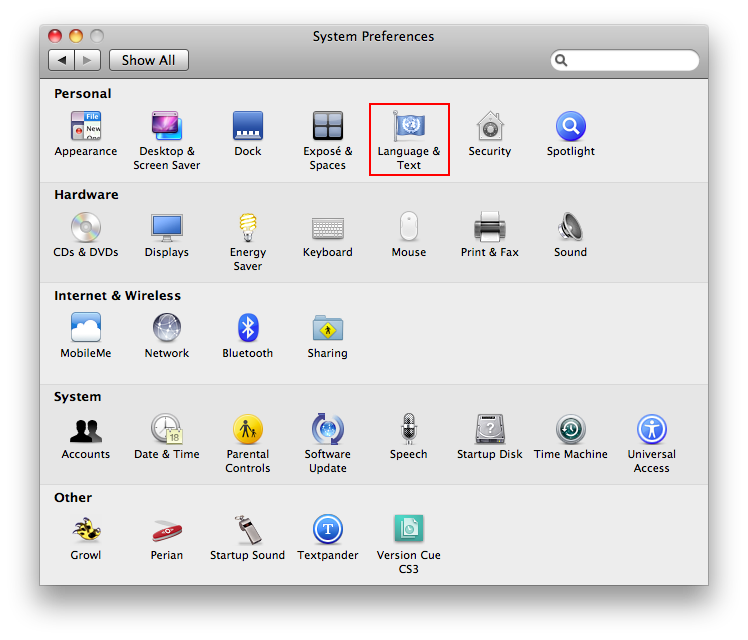
- Go to Language & Text in System Preferences.
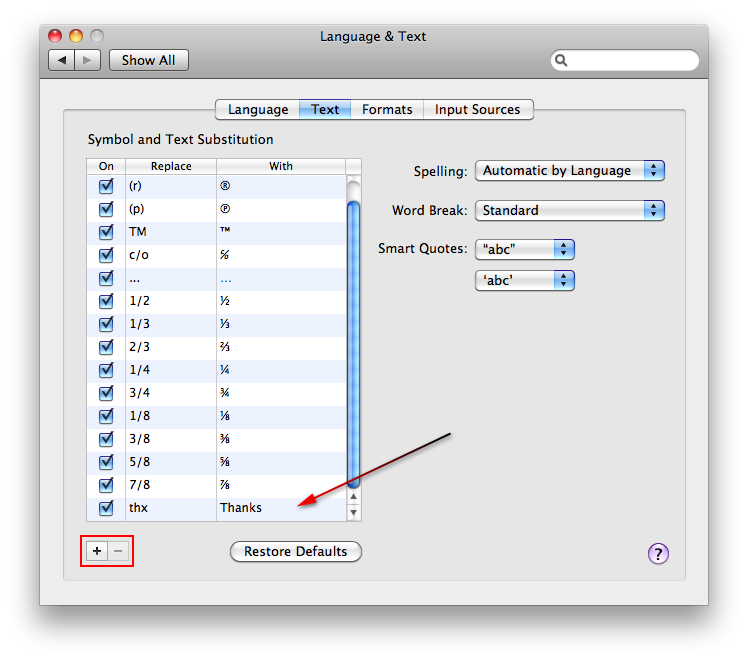
- Go to the “Text” section to view current text substitutions already created.
- To create one, just click on the “+” button on the bottom.
- For example, I would type “thx” under the Replace column and then type “Thanks” under the With column.
Trim Movies
In previous version of Mac OS X, QuickTime Player was very limited in (editing) capabilities unless you owned QuickTime Pro. In Snow Leopard, Apple combined the powers of QuickTime Pro into QuickTime X, so now there’s no need to buy a “pro” version.
- Open up a movie in QuickTime X that you would like to edit (trim).
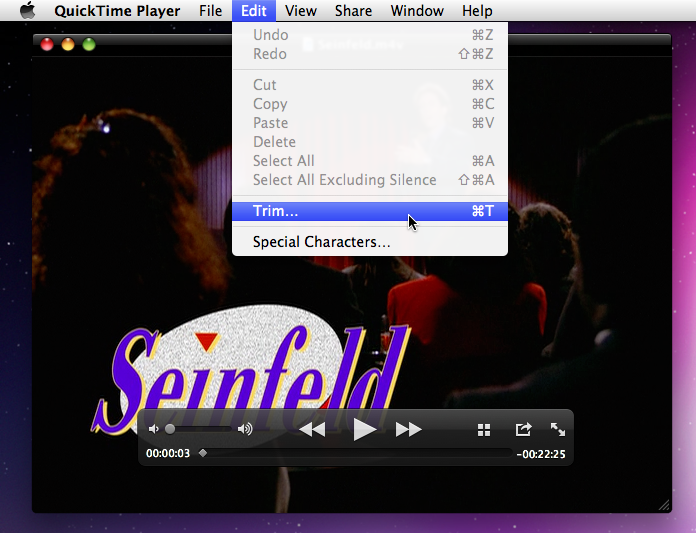
- Under the Edit menu, choose Trim.
- A yellow slider will appear on the QuickTime window. Adjust the slider to the parts of the movie that you want.
- Once you’ve made your selection, click the “Trim” button and save your new movie.
- If you would like to just have the video part (no audio), go to Edit > Select All Excluding Silence.
- Then you would open up that movie (it becomes a separate file) and trim it to the parts you want.
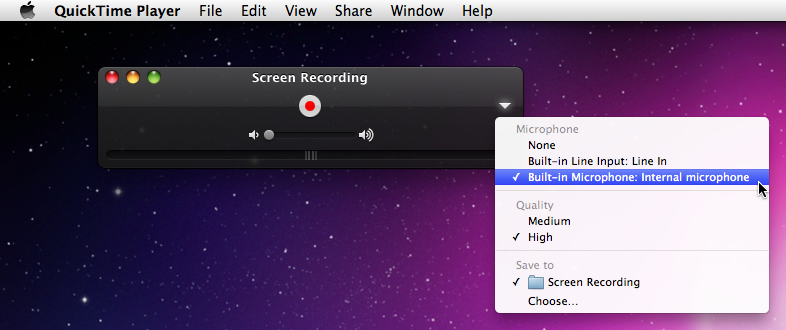
Screen Recording
Aside from audio recording, two of the best screen-recording tools for podcasters are iShowU HD Pro and SnapZ Pro X. Both are very affordable apps which record user-actions on Mac OS X, which is especially handy for teaching Photoshop tutorials. Another great feature that came with QuickTime X in Snow Leopard is the ability to do screen recording.
- Open up QuickTime X in your Applications folder.
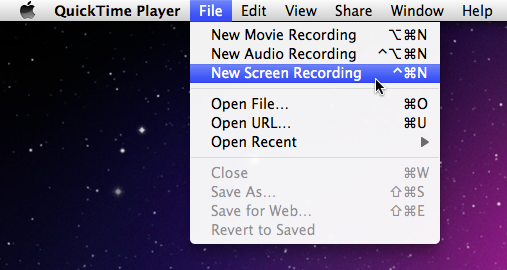
- Under File, go to New Screen Recording.
- Once the Screen Recording window appears, click the small white triangle on the right.
- Switch the Microphone to Built-in Microphone: Internal microphone to allow your voice to be recorded with the screen recording.
- You can also adjust the video quality and the folder to save the screen recording.
Using Annotation Tools
One of the great features in Adobe Acrobat Pro is the ability to annotate (comment, markup, circle, highlight) PDF documents. Although, there are many other features (like creating forms) in Acrobat that are useful for PDFs, it’s not really fair to compare it to Preview. Nonetheless, for those who don’t have Acrobat Pro or don’t want to buy it, Preview has become quite powerful especially with the new Annotate toolbar added in Snow Leopard.
- Open up a PDF on your Mac with Preview.
- Click on the Annotate button in Preview, located next to the Select button on the top.
- Now, you should notice a toolbar appear on the bottom on Preview.
- Use this Annotation toolbar to highlight text, add circles or squares around important text, add hyperlinks, add text, or add colorful arrows.
- Once you’re done making any changes to the PDF, make sure to save it.
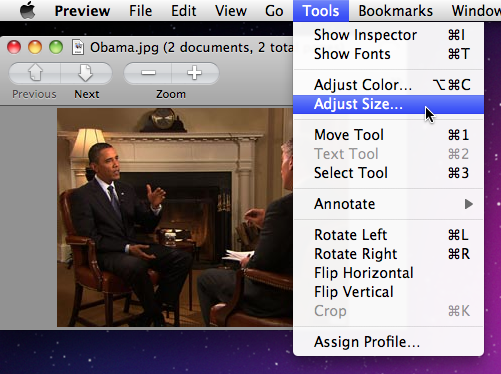
Adjust Image Sizes
Being a photographer, I often find myself having to readjust image sizes for web content (72 DPI) or for printing purposes (300 DPI). Typically, I use Photoshop for any type of image resizing because it resizes images correctly. Thankfully, I have one less need for using Photoshop now, because Preview now has the ability to adjust image sizes in Snow Leopard (I just noticed this feature, it’s been in Preview before Snow Leopard—woops).
- Go to Finder and open up an image with Preview.
- Once the image has opened in Preview, go to Tools > Adjust Size.
- An Image Dimensions window will appear now. Make sure “Scale proportionally” is checked off so when you resize it the width and height stay in proportion with one another.
- To adjust the resolution (DPI), type it in the Resolution field based on where you are using the image (print, magazine, web).
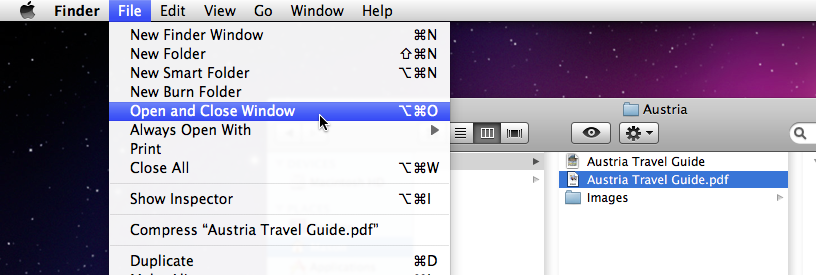
Open Files
One of the smallest features by far in this list would have to be this, the “Open and Close Window” feature in Finder. For those users who are constantly faced with using multiple applications at one time, you know how annoying another window on your screen can be. Well now, Apple finally gave us the option to open a file in Finder then close that Finder window after the file has been opened.
- In Finder, select an item that you would like to open.
- Go to the File menu, hold down the Option key and choose “Open and Close Window”.
- Another easier alternative is to just hold down ⌘ (Command), Option, and “O” or hold down ⌘ (Command), Option, and ↓ (down arrow).
screenshots: Click here for screenshot
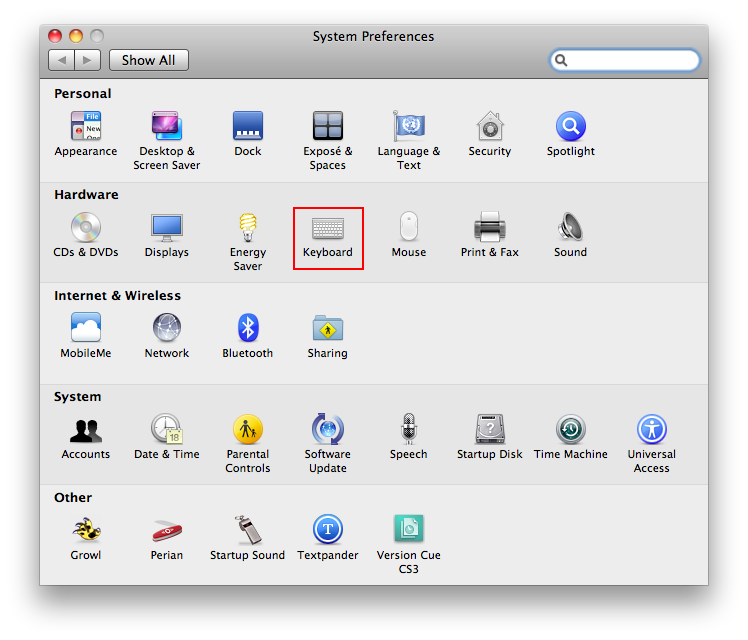
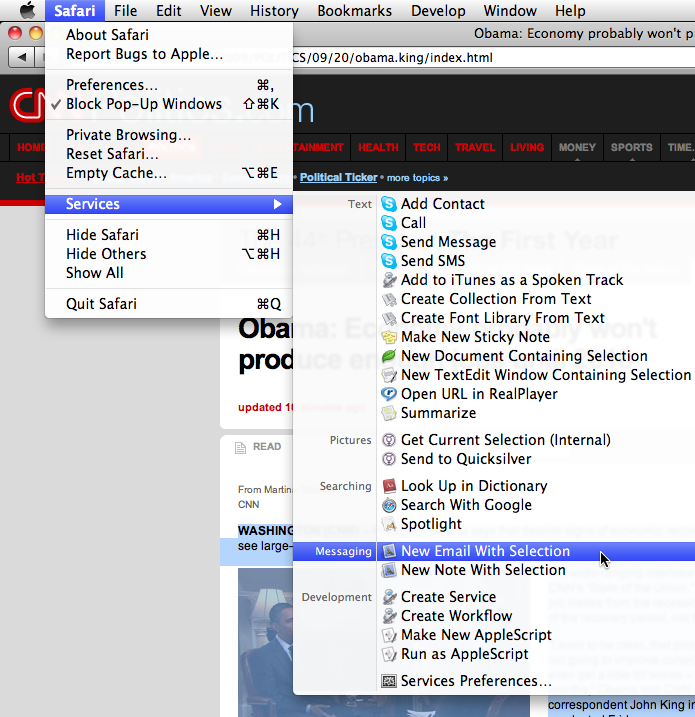
Services Menu
One of the least noticeable features in any version of Mac OS X, was the Services menu. I wrote a tutorial a while back on it for Mac OS X 10.4 Tiger, when you could use the Speech service and Summarize service. Now, most of those same Services are there, but the trick is enabling them all so you can actually use them.
- Go to Keyboard in System Preferences.
- Click on the “Keyboard Shortcuts” tab.
- On the left, choose Services in the sidebar. Check the services that you would like to use in the list on the right.
- To access these services, go to an application like Safari and choose Services under the Safari menu.
- For some of the services to work correctly, you may need to select text and then go to the Services menu.
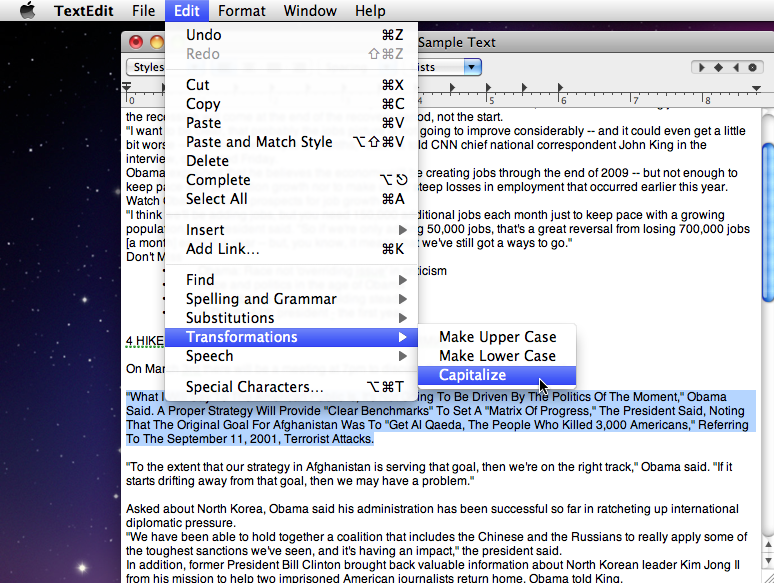
Transform, Substitute, and Spell Check
With the new version of TextEdit in Snow Leopard, a lot of useful features have been added to make it a better word processor app. In earlier versions of TextEdit, there was no automatic spell checking, text substitutions, grammar checking, or even text transforming. Now all those are included.
- Open up a document with TextEdit.
- To use Text Transformation, select some text and go to Edit > Transformations and pick one of the three: Make Upper Case, Make Lower Case, or Capitalize. This can be useful for example for making text that is important in all upper case.
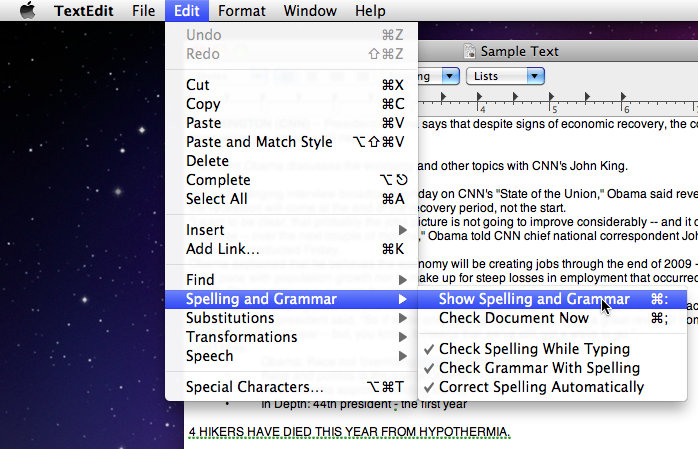
- To enable spell check and grammar go to Edit > Spelling and Grammar > Show Spelling and Grammar. A green dotted underline represents that the sentence(s) need to be checked.
- If you would like to use Text Substitution features, go to Edit > Substitutions and choose which ones you would like to use. Some useful ones for me are: the Data Detectors, which picks up dates and times if you hover over a date or time it will ask if you want to add it to iCal; Text Replacement, which fixes commonly misspelled words; and Smart Dashes, which turns “- -” into “—”.
Cyril
Jan. 25, 2010Dear sir, sorry if I’m imposing on the wrong site, but I need help. It seems I’ve lost the ability to change the language on my toolbar in Snow Leopard even though I can still type in different languages, can you please help?
Thanks,
Cyril
Mason Sklut
Jan. 25, 2010Hello Cyril,
Read this Mac OS X support document on changing languages:
http://docs.info.apple.com/article.html?artnum=61499
Thanks,
Mason
Rod
Jul. 13, 2010I like this blog, I rarely comment on them, but felt the need on this one. I will check back often. I can dig it.
Mason Sklut
Jul. 13, 2010Thanks Rod.