One of my biggest concerns when I first got Lightroom was how I was going to order prints online as I was able to do with iPhoto. Surprisingly, this task can be done fairly easy thanks to Lightroom’s exporting features. Here’s how:
- Open up iPhoto and to Preferences > Advanced.
- Make sure “Copy items to the iPhoto Library” is unchecked, this prevents unnecessary space from being taken up on your hard-drive by duplicate pictures.
- Now, go to Lightroom and select the images you would like to order prints with.
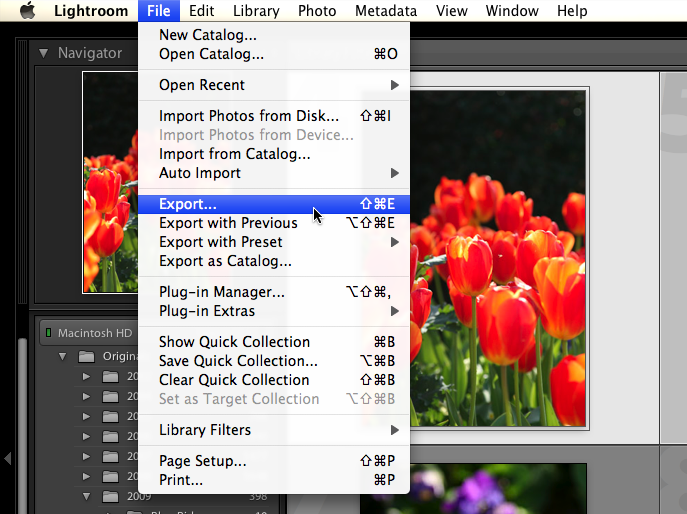
- After selecting those pictures, go to File > Export…
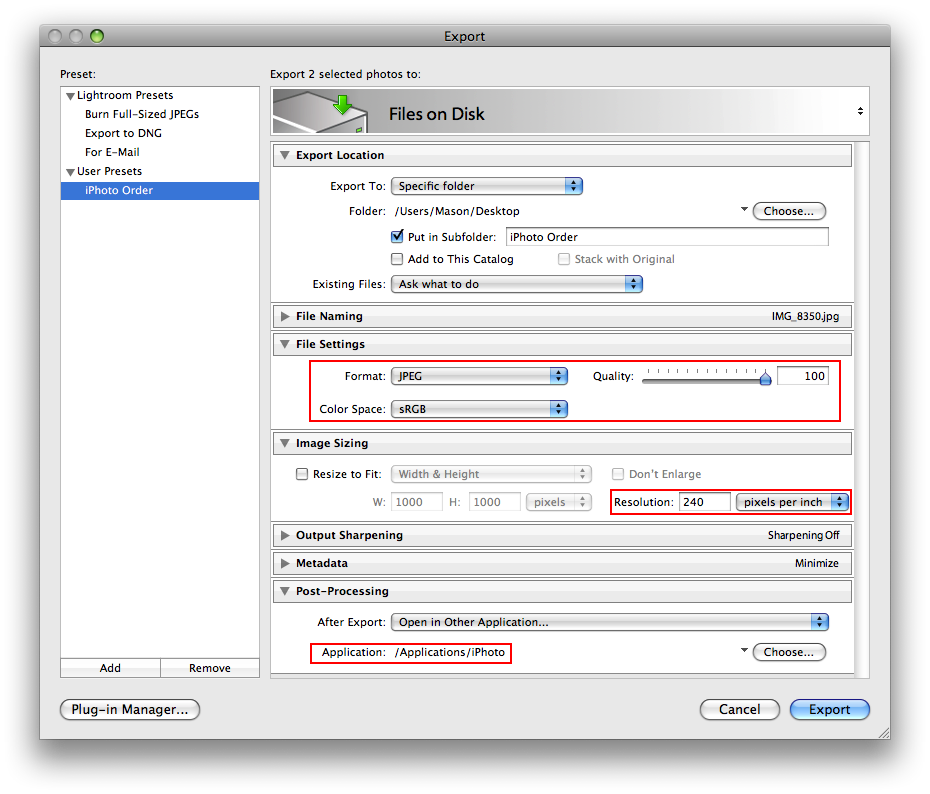
- In the Export window that appears make the following changes (leave the other settings as they are):
- Under Export Location: select Specific Folder (Choose Desktop) in the Export To drop-down menu and check off “Put in Subfolder” (titled iPhoto Order).
- Under File Settings: make sure to select JPEG in the Format drop-down menu, drag the Quality slider to the max (100), and select sRGB under the Color Space drop-down menu.
- Under Image Sizing: uncheck “Resize to Fit” and type in 240 (recommended default by Lightroom) for the Resolution.
- Under Post-Processing: choose “Open in Another Application” under the After Export menu; choose iPhoto.
- To save you time in the future, save these settings as a Preset by clicking the “Add” button in the bottom left corner.
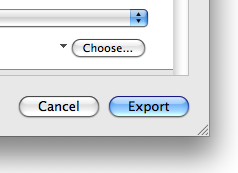
- Then click the Export button.
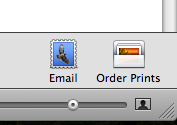
- Once the pictures have been successfully imported in iPhoto, select them and choose the “Order Prints” button in the bottom right corner on iPhoto.
Corinne Chung
Jul. 27, 2010I cannot order the picture I have imported to iPhoto. There is no sign saying “order pictures”. How can I do this?
Thanks,
Corinne Chung
Mason Sklut
Jul. 28, 2010Hey Corinne,
If you don’t see an Order Prints button, go to View > Show in Toolbar > Order Prints.
– Mason