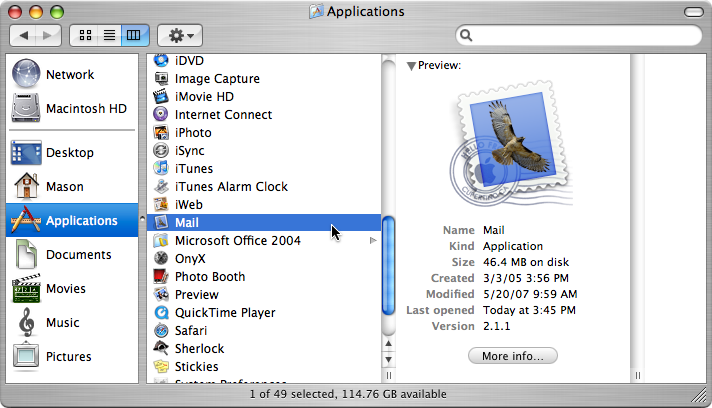
- Open up Mail in your dock or in your applications folder.
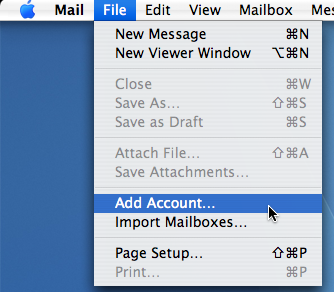
- Once Mail is open go to File > Add Account.
- In the General Information window, choose IMAP from the Account Type menu.
- For the Account Description, put down whatever you want (ex. AOL Mail).
- For the Email Address put your AOL or AIM email address. (ex. MasonSklut@aol.com or MasonSklut@aim.com)
- Click Continue.
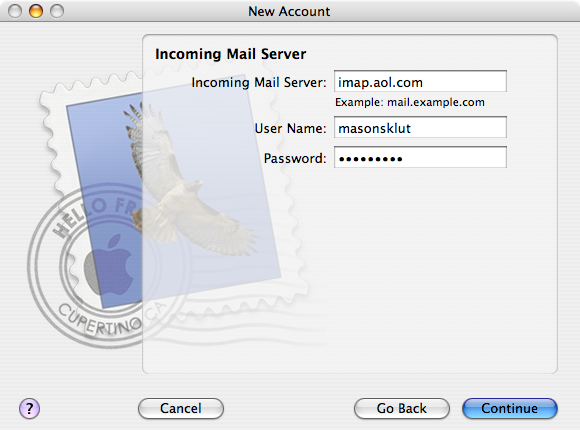
- In the Incoming Mail Server, type in “imap.aol.com” or “imap.aim.com”.
- In the User Name, type in your AOL or AIM screen name. (ex. MasonSklut)
- For the Password, type in your AOL or AIM password.
- Click Continue.
- For the Outgoing Mail Server, type in “smtp.aol.com” or “smtp.aim.com”.
- Check the Use Authentication box.
- In the User Name, type in your AOL or AIM screen name. (ex. MasonSklut)
- In the Password box, type in your AIM or AOL password.
- Click Continue.
- Done!
When I see the price for software these days, it always seems to push me away from buying it. Luckily there are many great freeware applications out there for the Mac. For me, Microsoft Office is a necessity, because I use Word to type documents, PowerPoint for presentations, and Excel for graphs and to organize data. Surprisingly, Microsoft sells Office for $400, just for the Standard version. Since I didn’t need all of the features of the full version, I bought the Student and Teacher edition for only $150, which has everything most people need. If you don’t need Microsoft Office, but you want something similar to it, then check out NeoOffice. With NeoOffice, you can do all of the same features as you can with Microsoft Office, for free. Some of the coolest features with NeoOffice are the ability to save a document as a PDF, Finder and Mail integration, and beautiful Aqua integration.
A lot of times, I will accidentally remove mail messages when I am a busy mood. Since I didn’t mean to remove the mail message, I need a way to get it back. I know that you can grab the message out of the trash can, but there was a time where it wouldn’t be in the trash do to how my Mail preferences were setup. My trash used to empty after I quit Mail. To prevent that from happening in the future, MazaDigital has released Email Backup, which is a mail backup utility for Entourage, Apple Mail, and Thunderbird. It allows you to set a backup time and date, as well as choosing where to back it up to. This way you won’t ever lose another mail message.

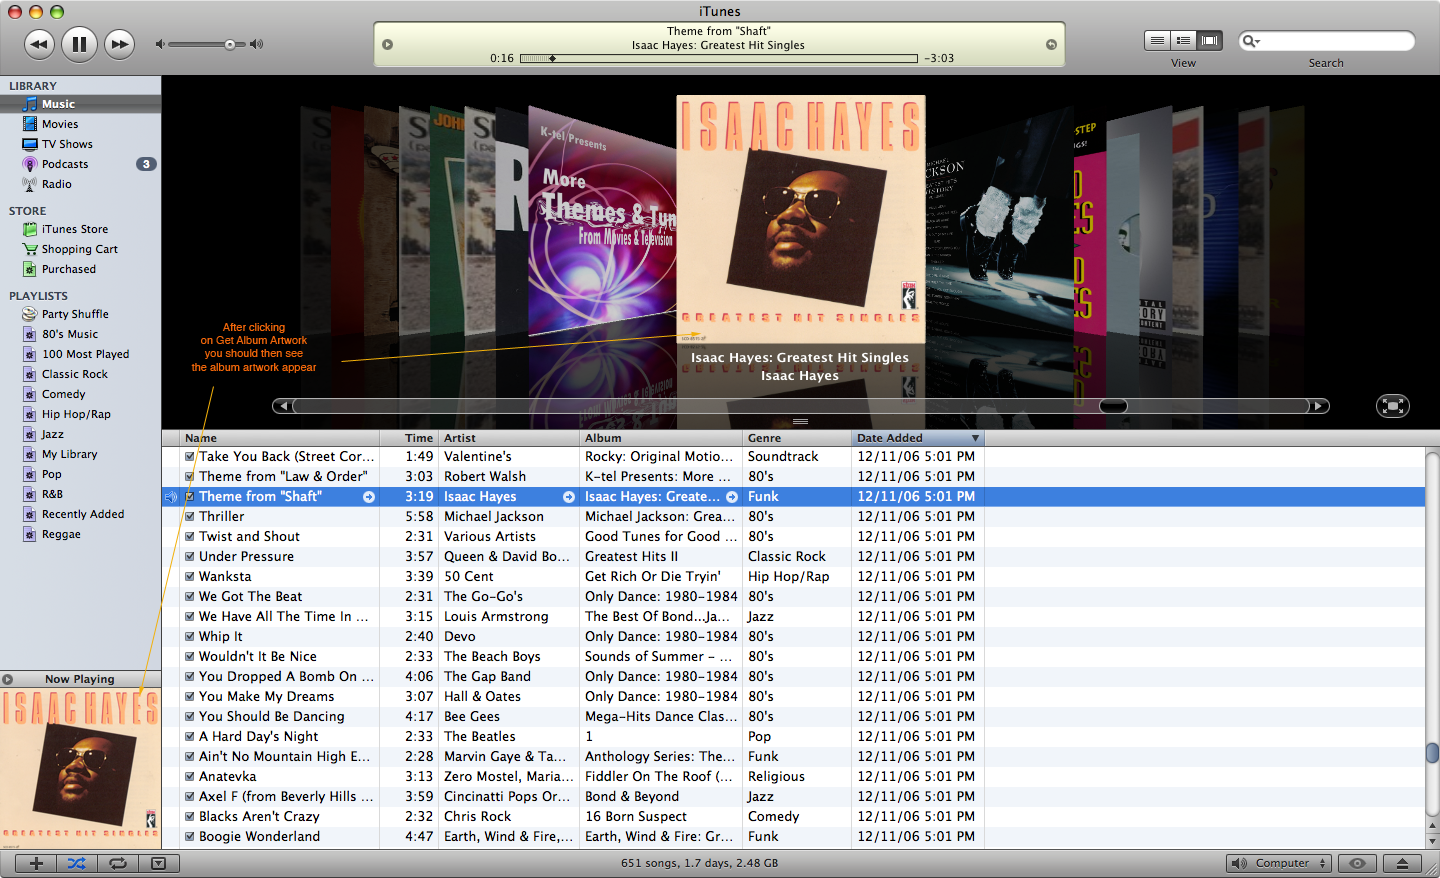
With the new release of iTunes 7, album art automatically appears on your songs. The technology behind this is called CoverArt. With some songs that were imported in my iTunes library prior to the release of iTunes 7, there was no album art. Luckily, there is a marvelous widget out there to save the day, called Amazon Album Art. There are two ways of adding album art to your songs, one is with CovertArt and the other with the Amazon Album Art widget.
Using CovertArt
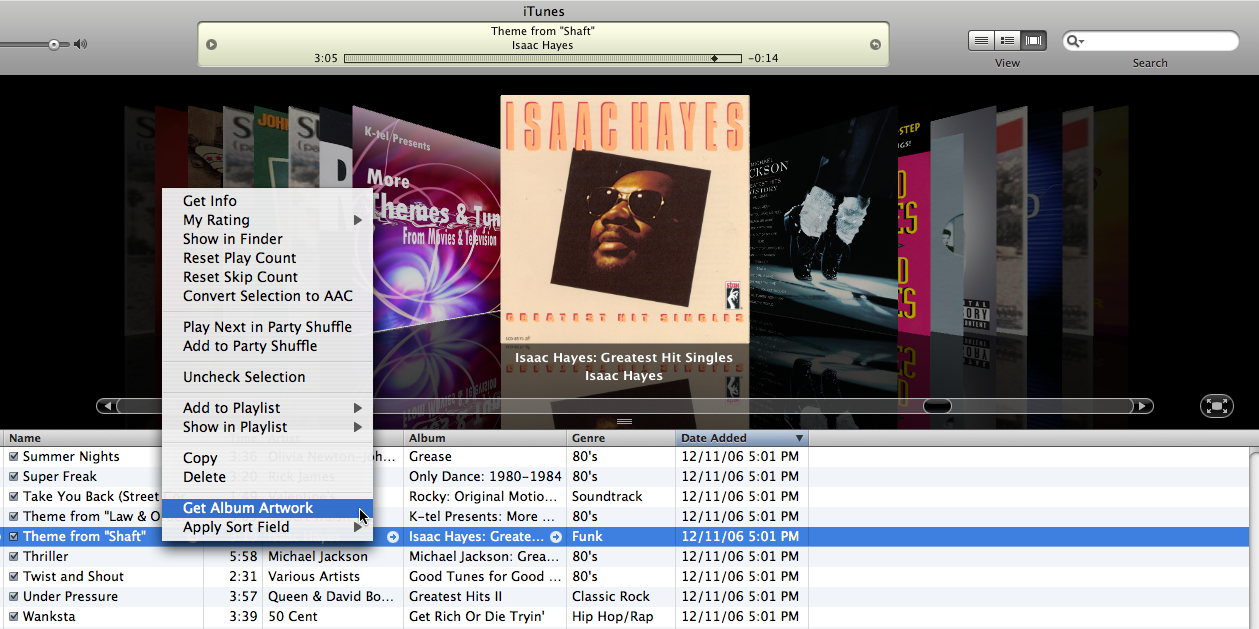
- Load up iTunes and locate a song without any album art.
- Right-click on the song title and a contextual menu should appear.
- In the contextual menu click on Get Album Artwork.
- The album art should appear.
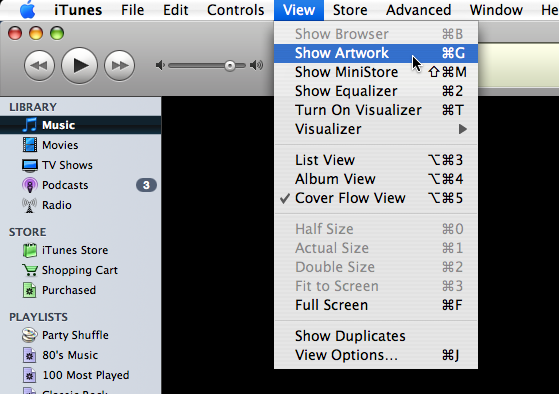
- If you don’t see it, go to View > Show Artwork.
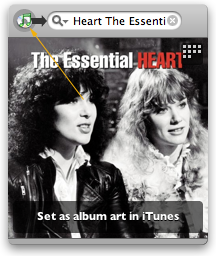
Using The Amazon Album Art Widget
- With iTunes open, click on any song to play it.
- Open Dashboard with the Amazon Album Art widget.
- Click on the small green iTunes icon beside the search bar on the Amazon Album Art widget.
- The album cover should show up in the Amazon Album Art widget.
- Click on the widget, where it says “Set as album art in iTunes”, and the album cover will then show up with the song in iTunes.
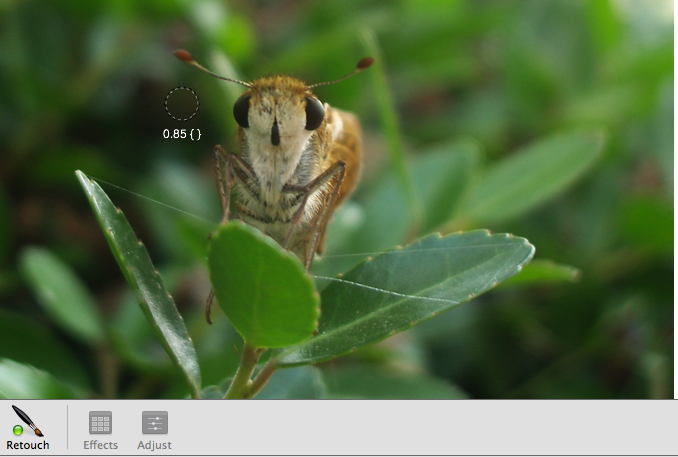
As part of iLife, iPhoto packs many useful features, most of which are visible to the user, though some are hidden. To access the hidden tools that are included in iPhoto:
- Hold down the Control, Caps Lock, and 9 keys when you have iPhoto open. Then hit the Tab key while using the Red Eye tool or the Retouch tool.
- You should get a green looking oval cross hairs while using the Red Eye tool.
- If you’re using the Retouch tool, you should see a small circle with a dotted edge.
- You can change the size of the Retouch circle tool and the Red Eye oval tool by using the “{” “}” keys.
- To change the effect of the Retouch circle tool hold down the Shift key with the “{” “}” keys.
- Hit the Tab key more than one time with the Retouch tool and you can change the effect to Lighten.