Often times when searching online, I will find an interesting article that I would like to read. I usually don’t have enough time to read the article, so I place the link on my dock to look at later. To put website links in your dock:
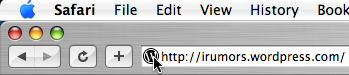
Open up Safari with the website that you want to look at later.
In the address bar, you will see a favicon, or a little icon
(before the “http” part of the url begins).
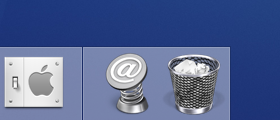
Drag this icon into your dock, to the right of the divided line, where the trash-can sits. A metal spring should appear with an “@” logo on the front.
I love using iCal, not only because it is free, but because I can manage so many calendars in one screen. With iCal, many people just use the Work and Home calendar for their basic needs. There is really so much potential with iCal such as: opening applications at certain times, emailing a friend to wish them a birthday if you forget to, sharing your calendar with your family and friends, and much much more. My favorite feature is having all of my other calendars in iCal which are: US Holidays, Football schedules, Basketball schedules, and Religious dates. Instead of buying a calendar at a bookstore, you can use iCal for all of your needs, saving you time and money. You can check out more calendars for iCal on Apple’s site.
Have you ever looked at your desktop and wandered how much junk is on it? If you do see lots of items on your desktop, then continue reading this article. The desktop is just a place to put recent items you need or for a file that you didn’t have enough time to put away. Here’s how to clean up your desktop:
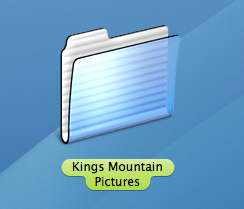
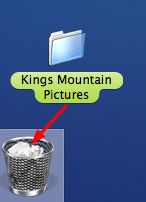
Let’s say you have a folder full of pictures or just pictures themselves.
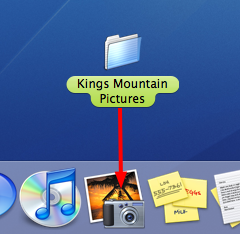
Drag the folder or picture onto the iPhoto icon in your dock.
iPhoto will automatically import the photos.
Once finished importing all of your photos into iPhoto, drag the folders you used into the Trash icon on your dock.
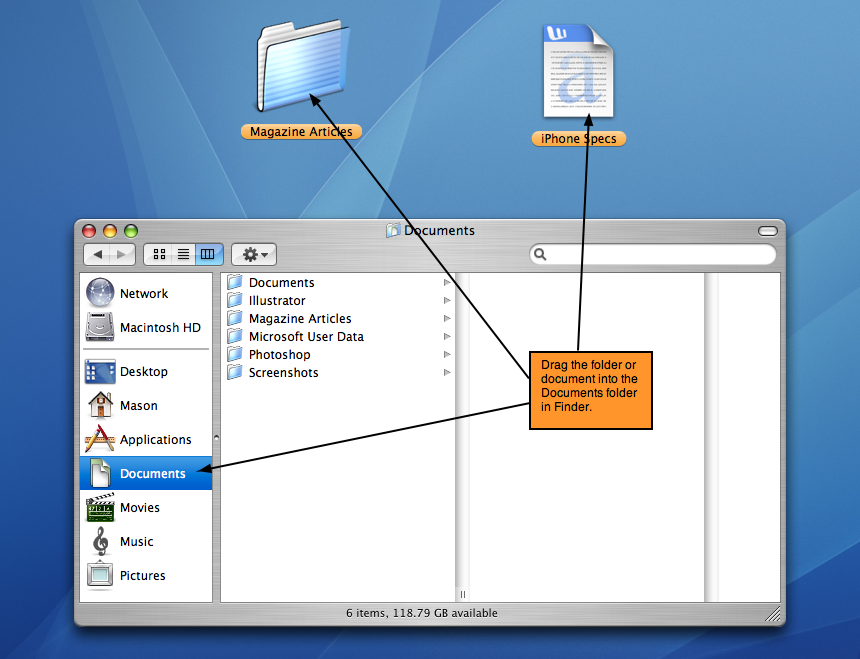
Next, see if you have any folders with documents or just documents themselves.
Drag the folder or document into the Documents folder inside Finder.
Now, most of the folders and files on your desktop should be gone.
If you notice any more pictures or documents that are not assigned to a folder, either drag them into the iPhoto icon to import it, or if it’s a document, drag it into Finder’s Documents folder.
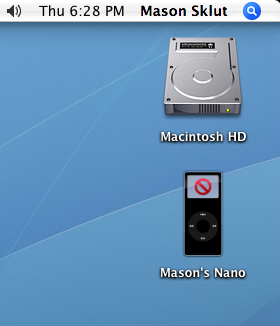
That should have cleaned off almost all of your desktop except for some of the default icons.
Personally, I have no need for the Hard-drive icon because Finder is already in my dock and it does the same thing.
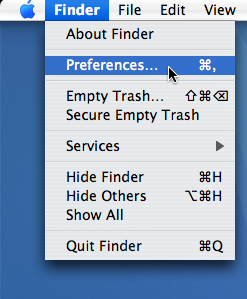
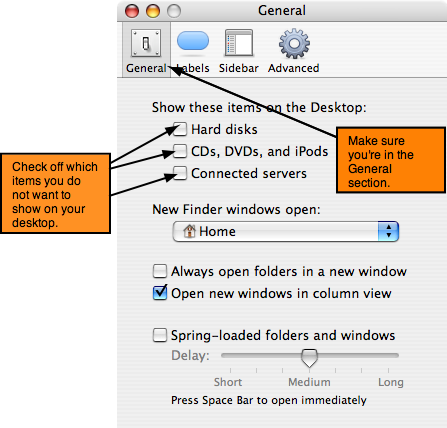
If you prefer to remove the Hard-drive icon, go to the Finder and click on Preferences under the Finder menu.
In the window that pops-up, go to the General section and uncheck “Hard disks”.
You may also uncheck CD’s DVD’s, and iPods, and Connected servers, if you don’t want to see those when they are connected or loaded onto your Mac.
If you like having items on your desktop, just make sure you have them in a neat order.
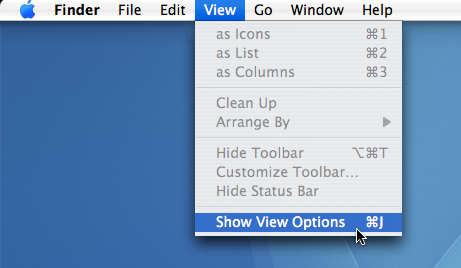
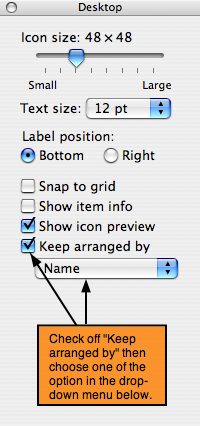
To put desktop items in order, go to Finder and click on View Options in the View Menu.
In the View Options window that appears, check off “Keep arranged by:” and choose an option from the drop down menu below. This will place all of the items on your desktop in order.
Ever wanted to organize your iTunes library, but just didn’t have the time? Well, when I wanted to organize my iTunes library I had no real idea where to start. Completing this task alone can be done and with these instructions, I’m going to show how:
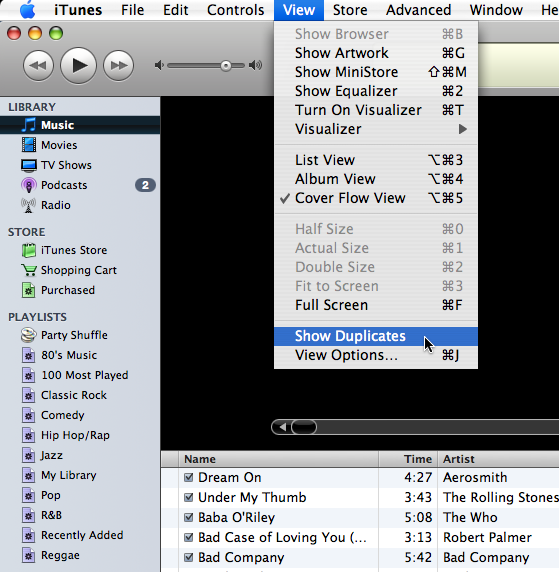
Checking For Duplicate Songs
First, open up iTunes from the dock or your Applications folder.
Once your in iTunes, go to View > Show Duplicates.
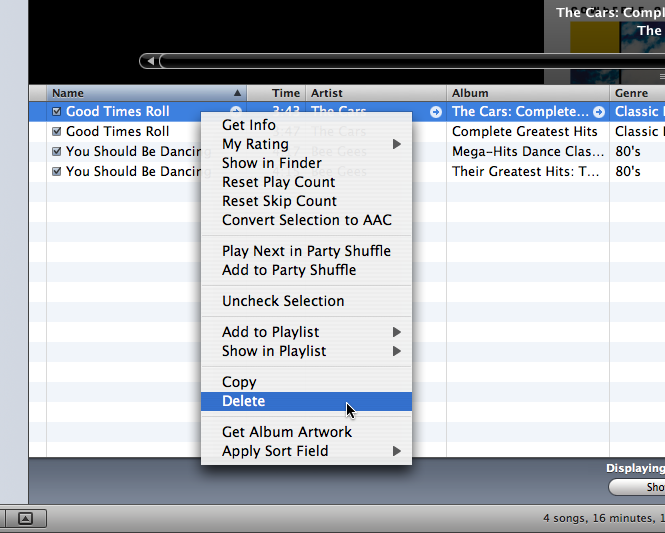
Then all of the duplicate songs that were in your library should appear.
Ever since Smart Playlists came out, I stopped using the regular playlists because they just weren’t that great.
With Smart Playlists, you can better organize your music based on artists, year, time, and it automatically updates every time you import music into iTunes.
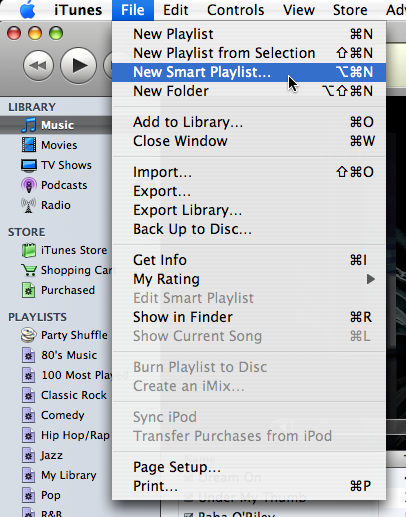
To create a Smart Playlist, go to File > New Smart Playlist.
In the Smart playlist window, you will have several options to choose from.
Let’s say you want an all 80’s music playlist:
Choose Year under the first drop-down menu and in the second drop-down menu choose is in the range and then put 1980 to 1990.
Don’t check off Limit to, only check off Match only checked items and Live updating.
The checked items in your iTunes library will be affected by this Smart Playlist, so be sure you have checked off the songs you prefer.
Now you successfully setup your first Smart Playlist.
Last but not least, double check and make sure your songs don’t have multiple album covers, which take up lots of disk space.
Some of my iTunes songs had multiple covers because before iTunes 7, there was no album cover finder, so I used a widget, which sometimes added more than one album cover.
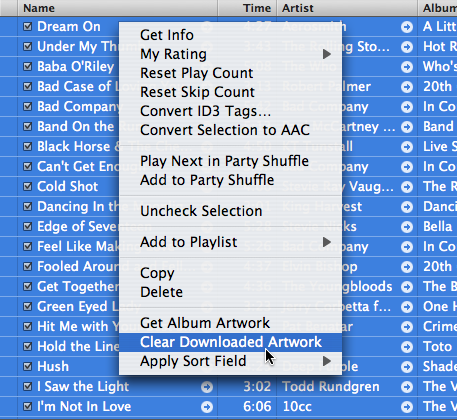
Go to your main library which should be called Music if you are using iTunes 7 and highlight all of your songs by holding down ⌘ (Command) and the “A” key which selects all.
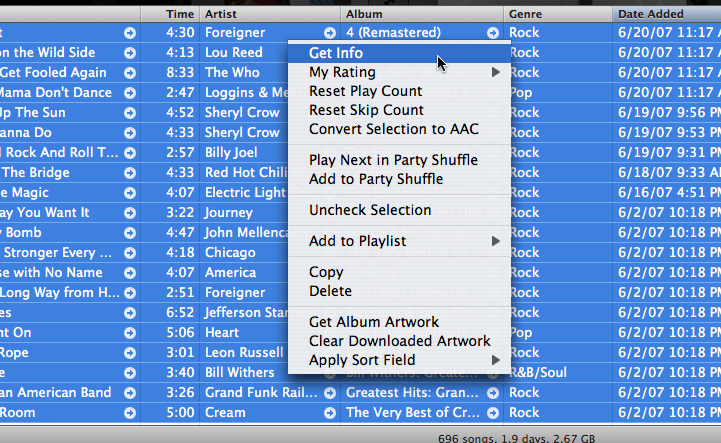
Once you have done that, right-click on the songs and select Clear Downloaded Artwork.
Then you should have no artwork with the songs that had downloaded artwork.
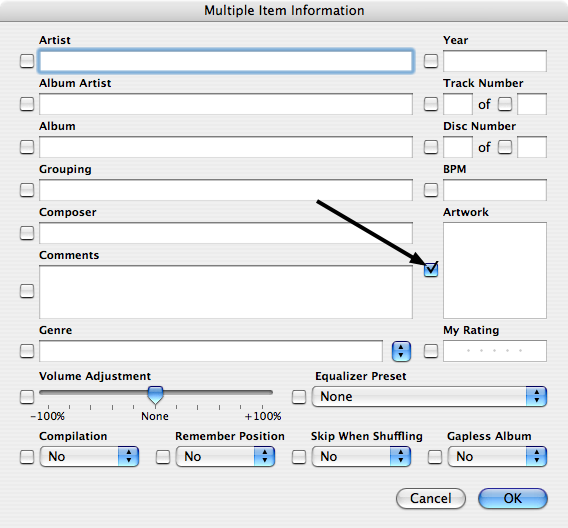
To remove all existing artwork, select all of your songs and right-click and select Get Info.
Check the Artwork box in the right side of the Get Info window.
This will remove all Artwork, not just the downloaded artwork.
To add album covers to your songs, simply hold down ⌘ (Command) and the “A” key to select all of your songs and click on Get Album Artwork.
Ever wanted to make your apps faster without having to get an upgrade? Through some experimentation, I believe I have found a simple way of speeding up apps. To start off:
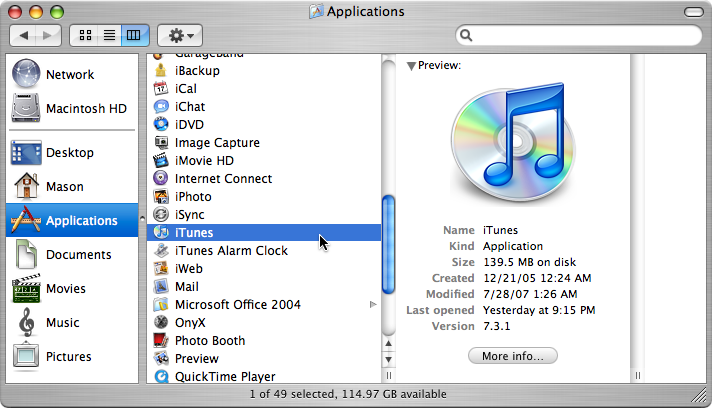
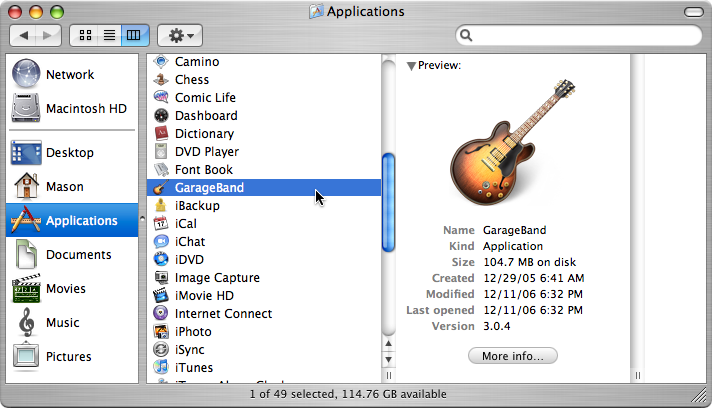
Go to Finder > Applications.
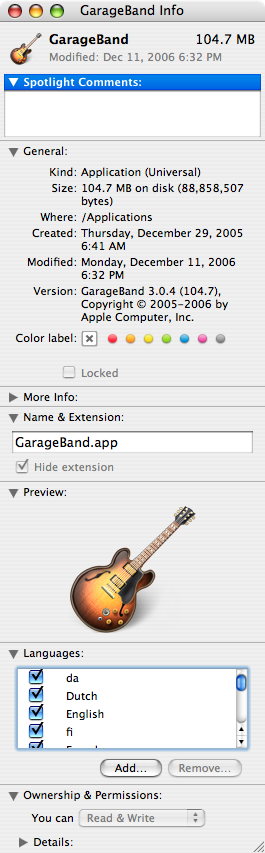
Once there, choose any application such as GarageBand.
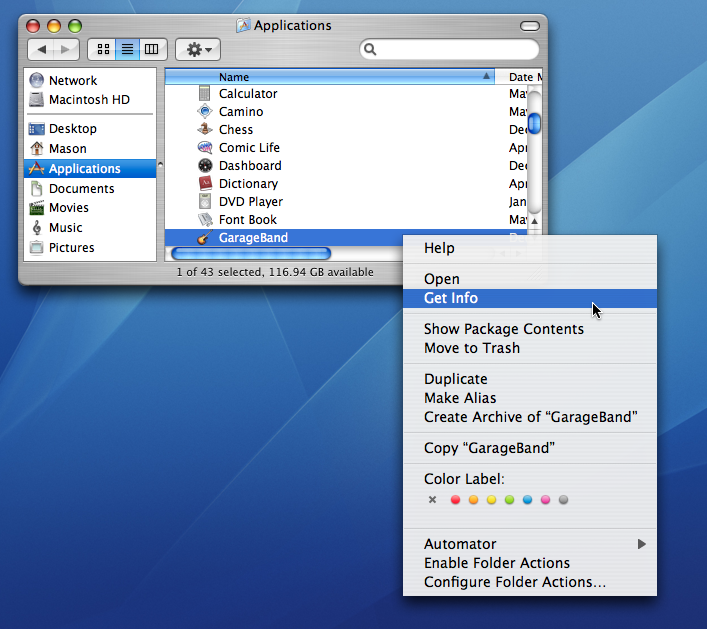
After selecting your application, right-click on the name of the app.
In the contextual menu, you’ll see Get Info.
Click on Get Info.
The Information window should come up with tons of facts about the app.
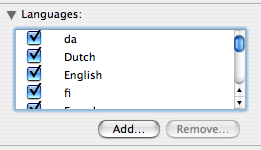
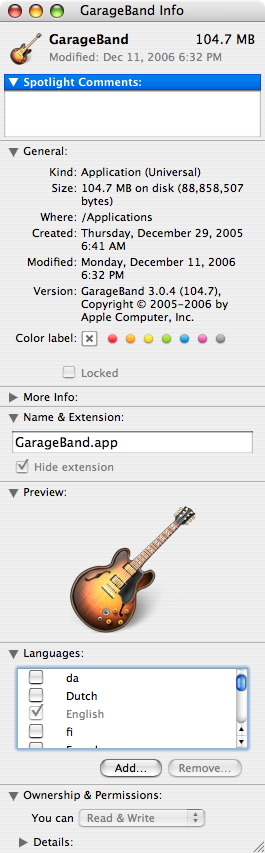
In the Languages box, you should see many languages checked off.
Check off all of the languages except English (“en”).
Load up the app and you should see a significant improvement in the time it takes for the app to load.
I noticed when clicking on the Safari icon in my dock, it only bounced once instead of 3 or 4.