I use Photoshop for a lot of the design work I do. When I take screenshots for The Macintosh Weblog, I always use a red arrow to point to something in the screenshot that corresponds with the step in the tutorial. The arrow consists of using the line tool and layer styles. That’s it. But the thing is, I use it so often, having to re-do the arrow everytime wastes time. I’ll show you how to save that “valuable” time by using Photoshop Actions:
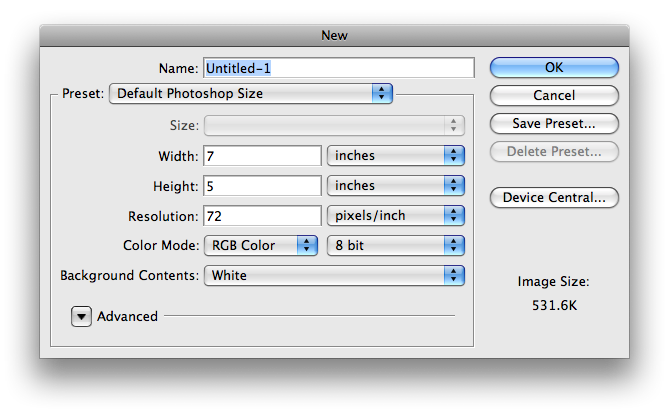
- Open up Photoshop and make a new document (⌘ (Command) + N).
- I’m using the default settings: 7 x 5 inches.
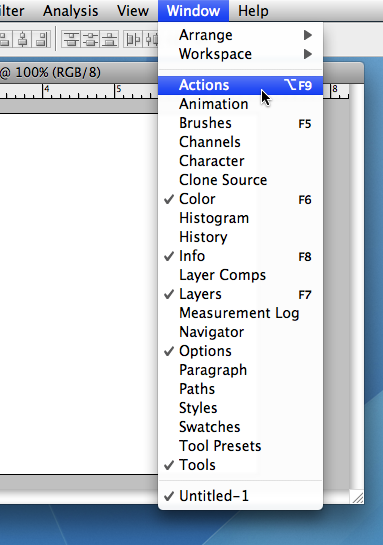
- Go to Window > Actions and the Actions palette will appear.
- Click on the “dog-eared” paper icon in the bottom corner of the palette.
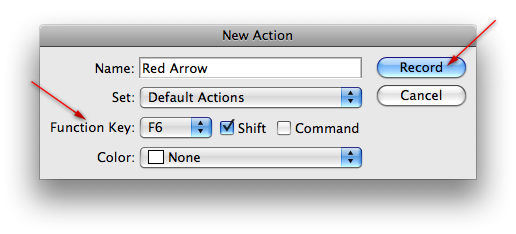
- Type a title for your action and choose a keyboard hotkey to activate it.
- Click “Record” and start making the action.
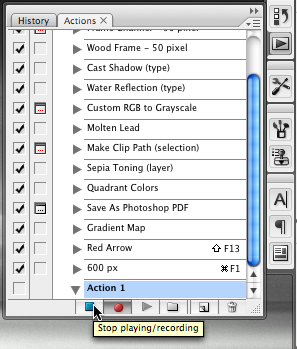
- When you’re done with recording the action, click on the stop button (square icon) in the Actions palette.
- Now you have a simple (or complicated) action that you can easily activate when you use Photoshop.