With Leopard, the Finder got an extreme makeover. Many new features are not so visible at first, so I’m going to teach some tricks to help you “relearn” the new Finder.
Spotlight Searches
In 10.4, you had the ability to search your entire hard-drive for files. With 10.5, you can’t search your entire drive for files, unless you make a few changes.
- Open a new Finder window by clicking on the Finder icon in the Dock.
- In the Finder window, hold down the ⌘ (Command) and the “F” keys to invoke a search.
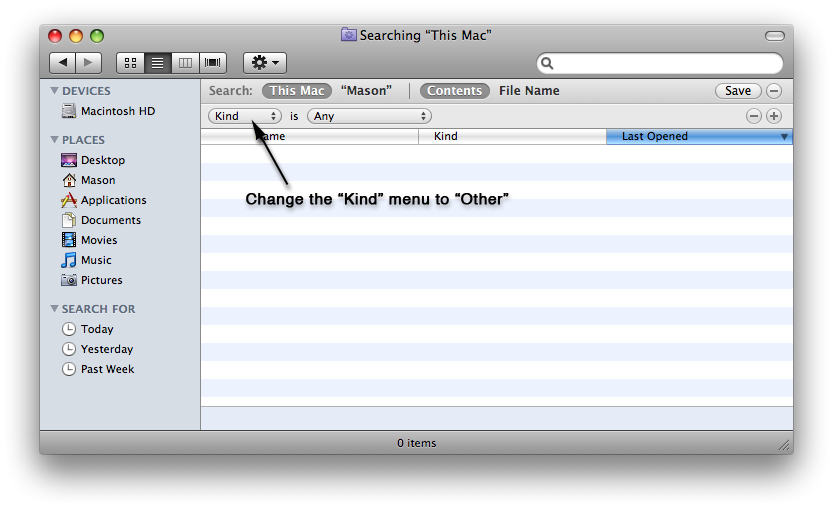
- In Finder, change the menu titled “Kind” to “Other”.
- A drop-down menu now appears with many different search attributes.
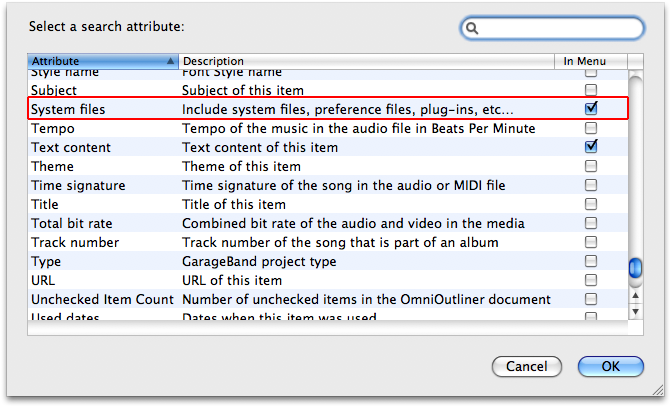
- Scroll down to “System Files”.
- Check it off and click the “OK” button.
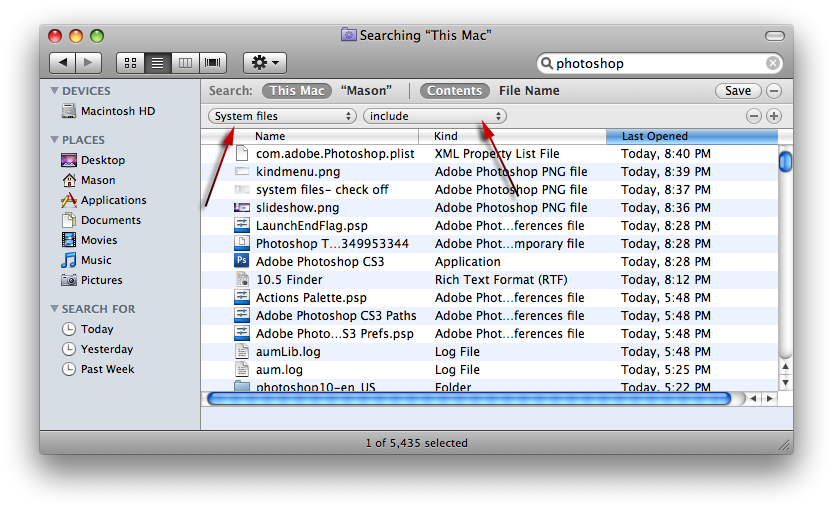
- Now when you search for something in Finder you can see all files related to the search query.
- After you have made these changes just make sure you switch to “System Files” in the “Kind” menu so it will work.
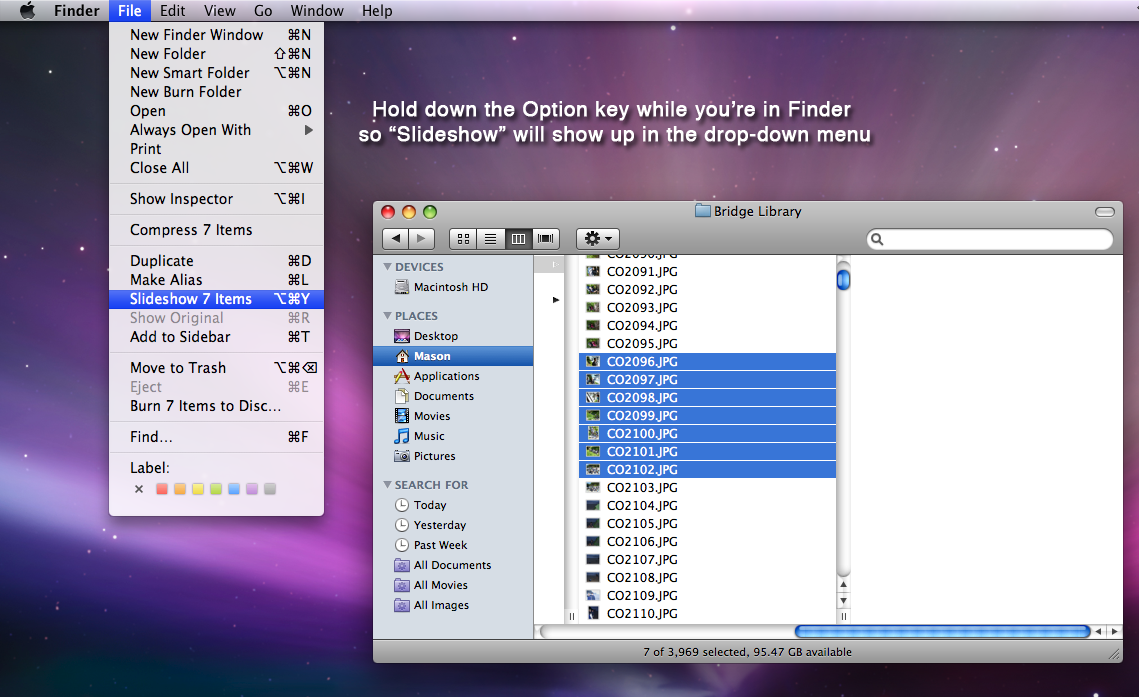
Quick Look and Slideshow Feature
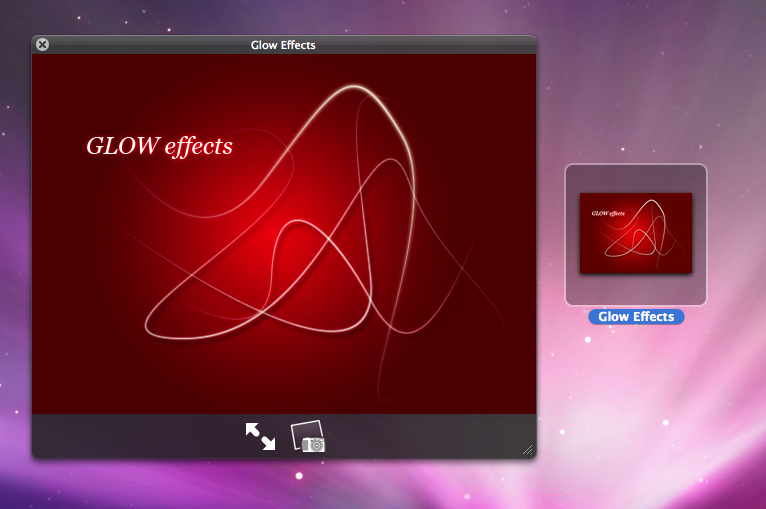
With Leopard’s new Quick Look feature, you can now do a “quick preview” of just about any document.
- To do so, click on the document icon itself, then tap the spacebar and it should appear.
- One nice feature about Quick Look, is that you can switch to Slideshow mode if you want to view some pictures in fullscreen view.
- To enable that, hold down the Option, ⌘ (Command) and the “Y” keys.
Using The New Help Menu
The new Help menu has an amazingly helpful feature now which is like “Spotlight” for applications. In other-words, if you type something in it relating to the application you’re in, it will locate the item from the menubar. For instance, if I was in Photoshop and wanted to know where “Zoomify” was, all I need to do is type that in the Help menu and it will locate it for me. As well, the Help menu searches through documents to find something relating to your search query.
screenshots: Click here for a screenshot