One of the greatest things about iLife is the simplicity of the applications included within it. Whether it be iPhoto, iMovie, iWeb, GarageBand, or iDVD, each application has a very intuitive user interface that makes it easy to use. However, there are times when it can be a little bit confusing to do certain tasks. I will admit, I still use Toast Titanium for anything going onto a DVD, including photo slideshows, movies, and music. Creating photo slideshows within iDVD are rather easy, so I want to show you how to make them:
- Create a New Project once iDVD opens up.
- Choose a Theme from the sidebar.
- Go to the “+” icon in the bottom left corner and choose “Add Slideshow”.
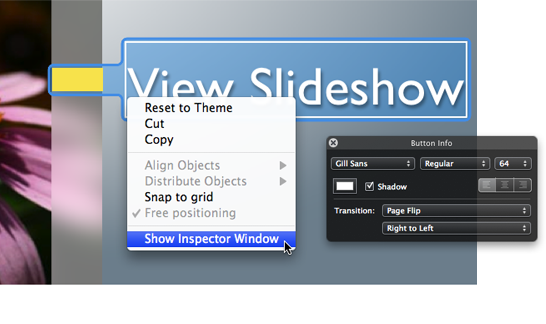
- Select the button text and edit it to your liking. To change the font, right-click on the text and choose “Show Inspector Window”.
- Edit the Drop Zones (i.e. Background images) by going to “Edit Drop Zones” under Project. Then drag images onto the Drop Zones.
- To setup the slideshow, hold down Shift + ⌘ (Command) + “M” or go to View > Show Map.
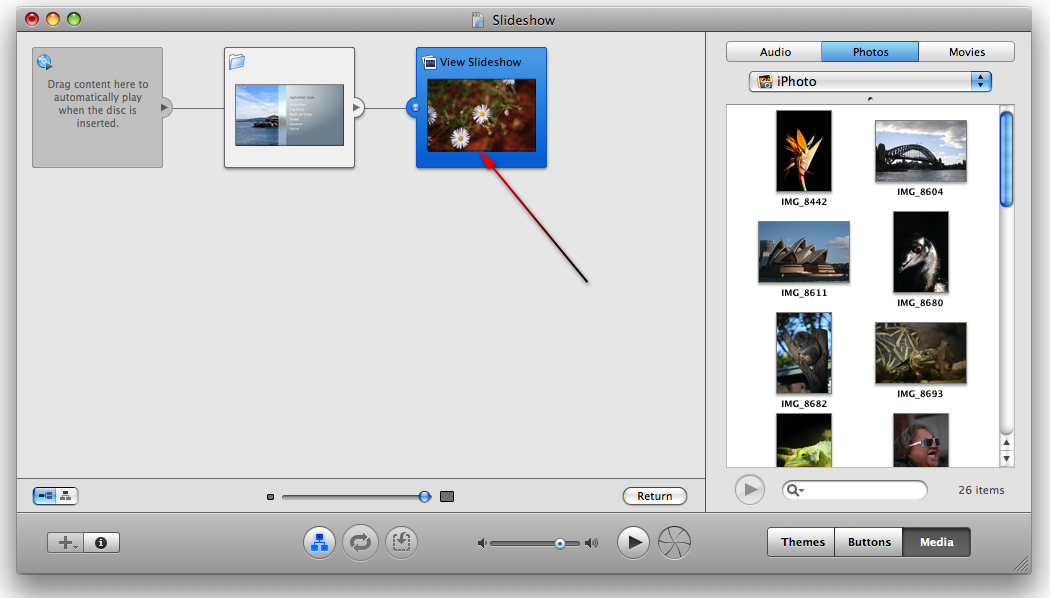
- Now click the “View Slideshow” thumbnail.
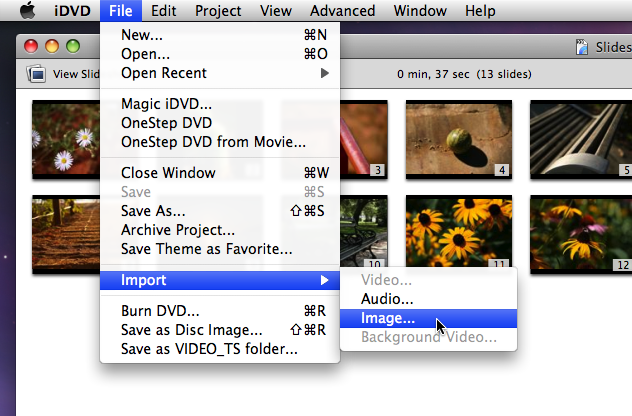
- Import or drag the images into the window that you want to use for the slideshow.
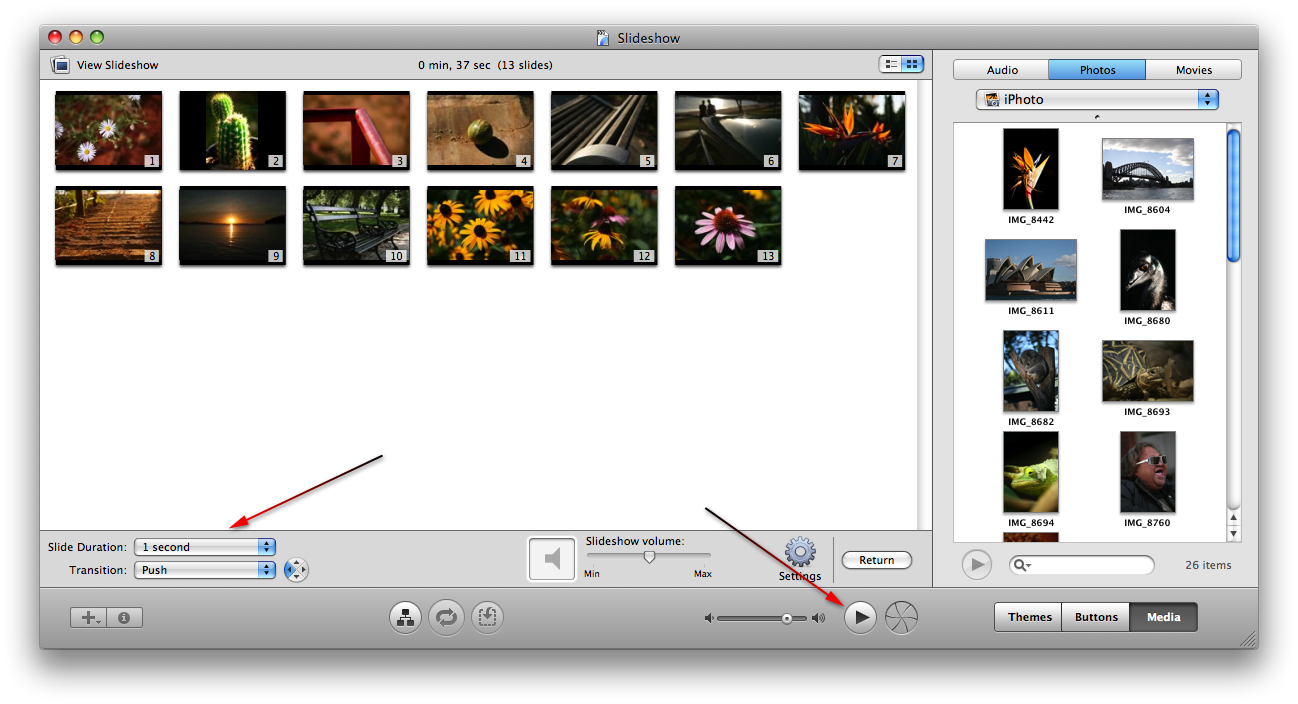
- On the bottom of the View Slideshow window, adjust the settings for Slide Duration and Transition.
- Click the Play button.
- Once you are satisfied with the outcome of the slideshow, insert a DVD and click the Burn icon located next to the Play button.
- After iDVD has completed burning the DVD, it will let you know.