A couple months ago, I switched over to Firefox completely after using Safari as my main browser. Now that I have found the right plugins and tweaked the settings, using Firefox has helped me browse the web smarter. Being a web developer, I’m constantly looking for lots of information on various websites, forums, and personal blogs. I’ve been so accustomed to having to click on the “next page” or the “1, 2, 3” links on the bottom of the page that it never really bothered me. All I can say, is that after installing the AutoPager plugin, I’ve been able to browse through sites much faster and save myself time.
Installing AutoPager
Download Firefox if you don’t already have it installed.
Get the AutoPager plugin from the Firefox website or from the “Get Add-ons” menu inside of Firefox (Tools > Add-ons).
AutoPager will work instantaneously after you restart Firefox.
Tweaking AutoPager To Work On Every Site
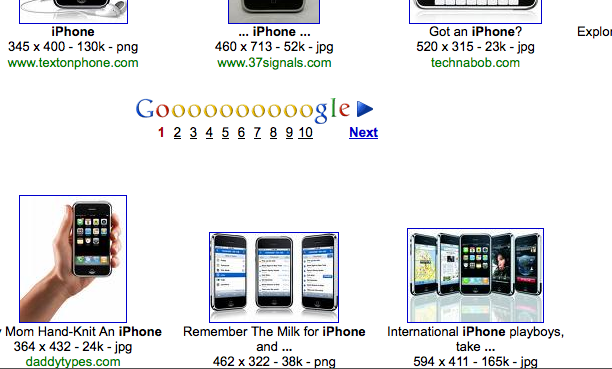
I have noticed on some sites it can be hard for AutoPager to detect the “next page” or the “1, 2” links.
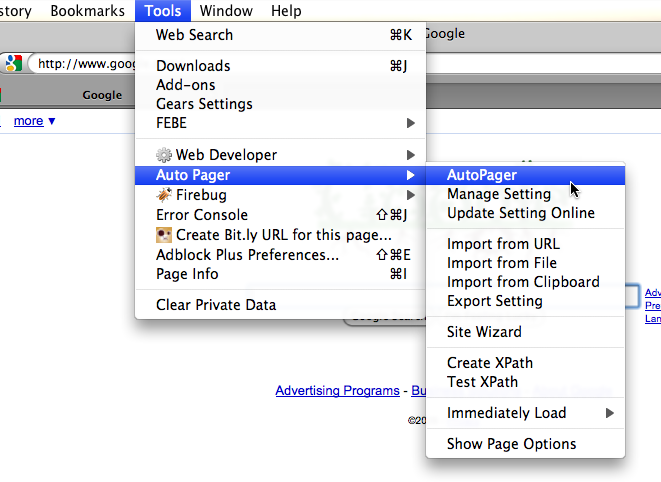
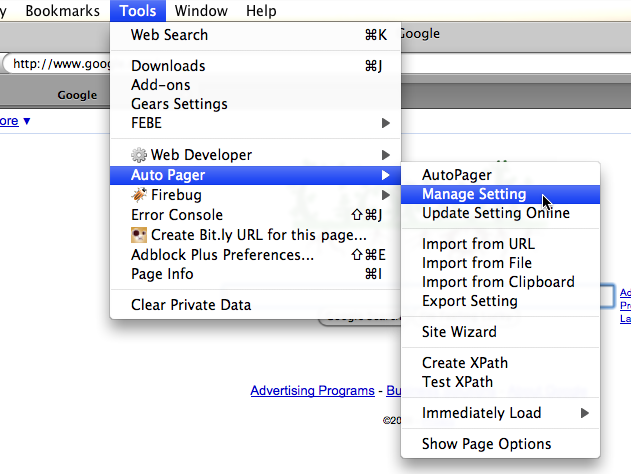
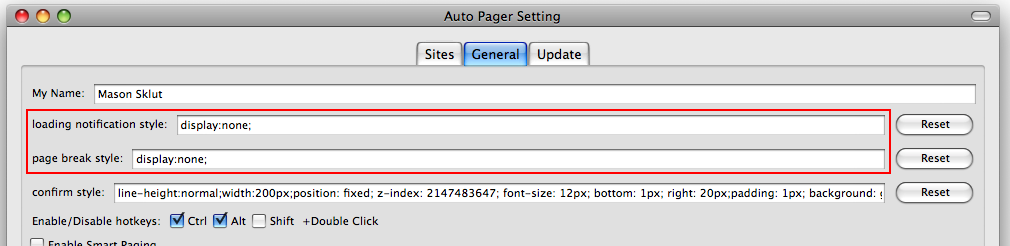
In order to make custom settings on a per-site basis, all you have to do is go to Tools > Auto Pager > AutoPager.
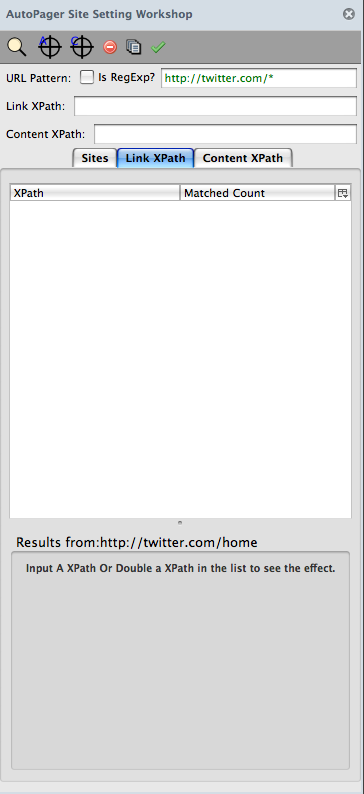
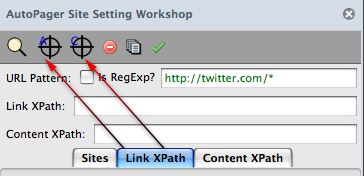
A sidebar will appear on the left of the screen.
In the URL Pattern field make sure the correct website address is filled in.
Then for the Link XPath and Content XPath, simply click the yellow spy-glass icon in the AutoPager sidebar. This will automatically detect the links.
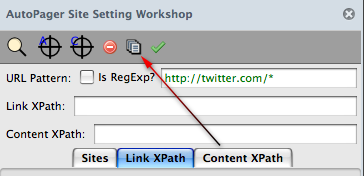
Just to be sure, click the “Test Site” button that looks like a stack of papers.
If the site continues to the next page as you scroll down—success!
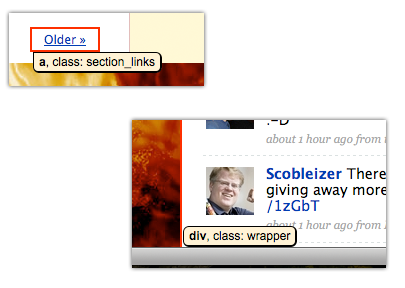
If not, then use the Pickup Link and Pickup Content buttons to select the links manually.
Just hover over the parts of the page that have links and/or content, click once and they will show up in the sidebar.
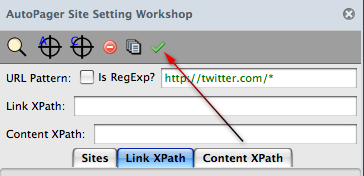
When you’re done making changes, click the Green checkmark icon to save the changes.
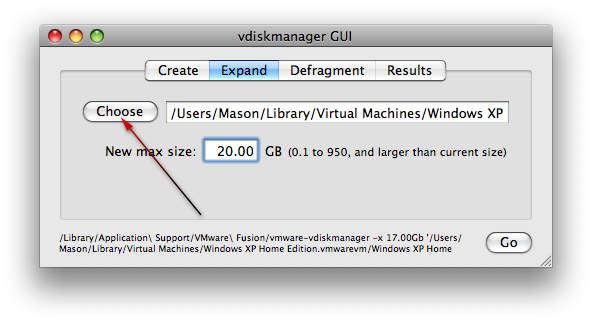
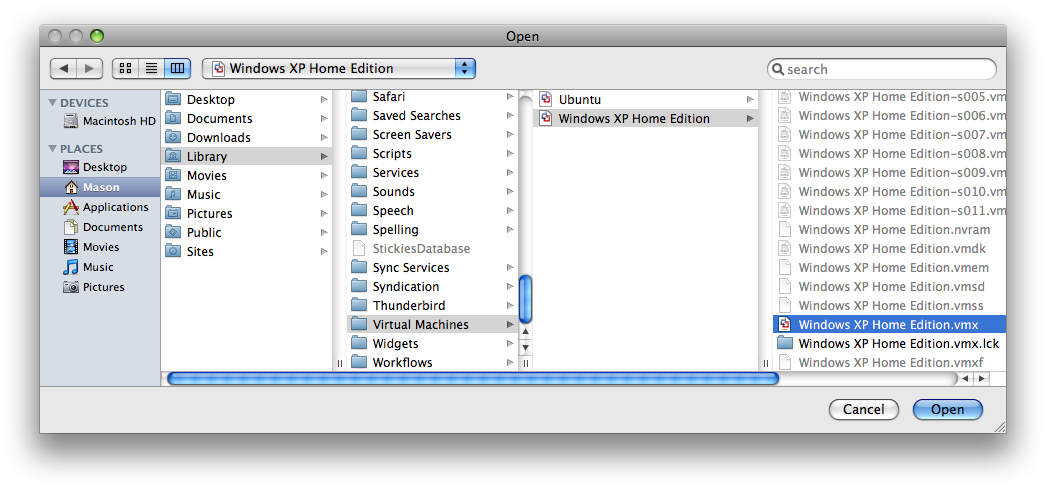
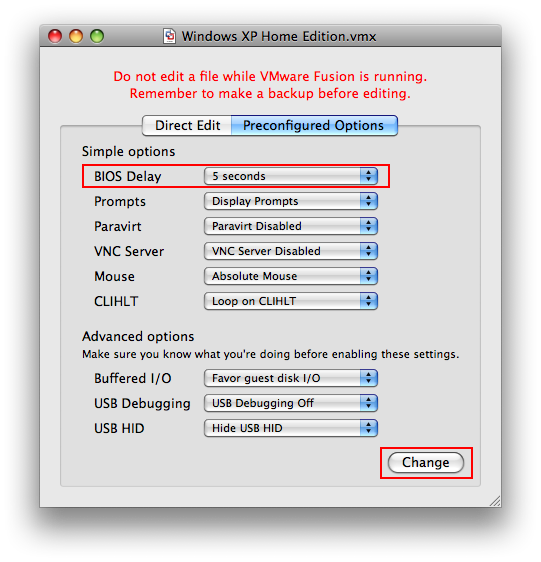
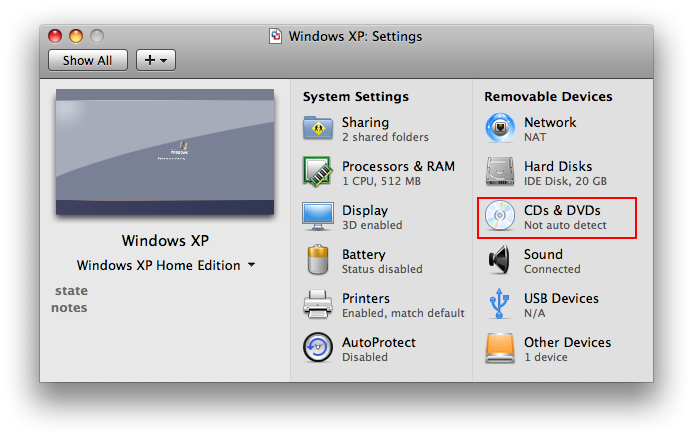
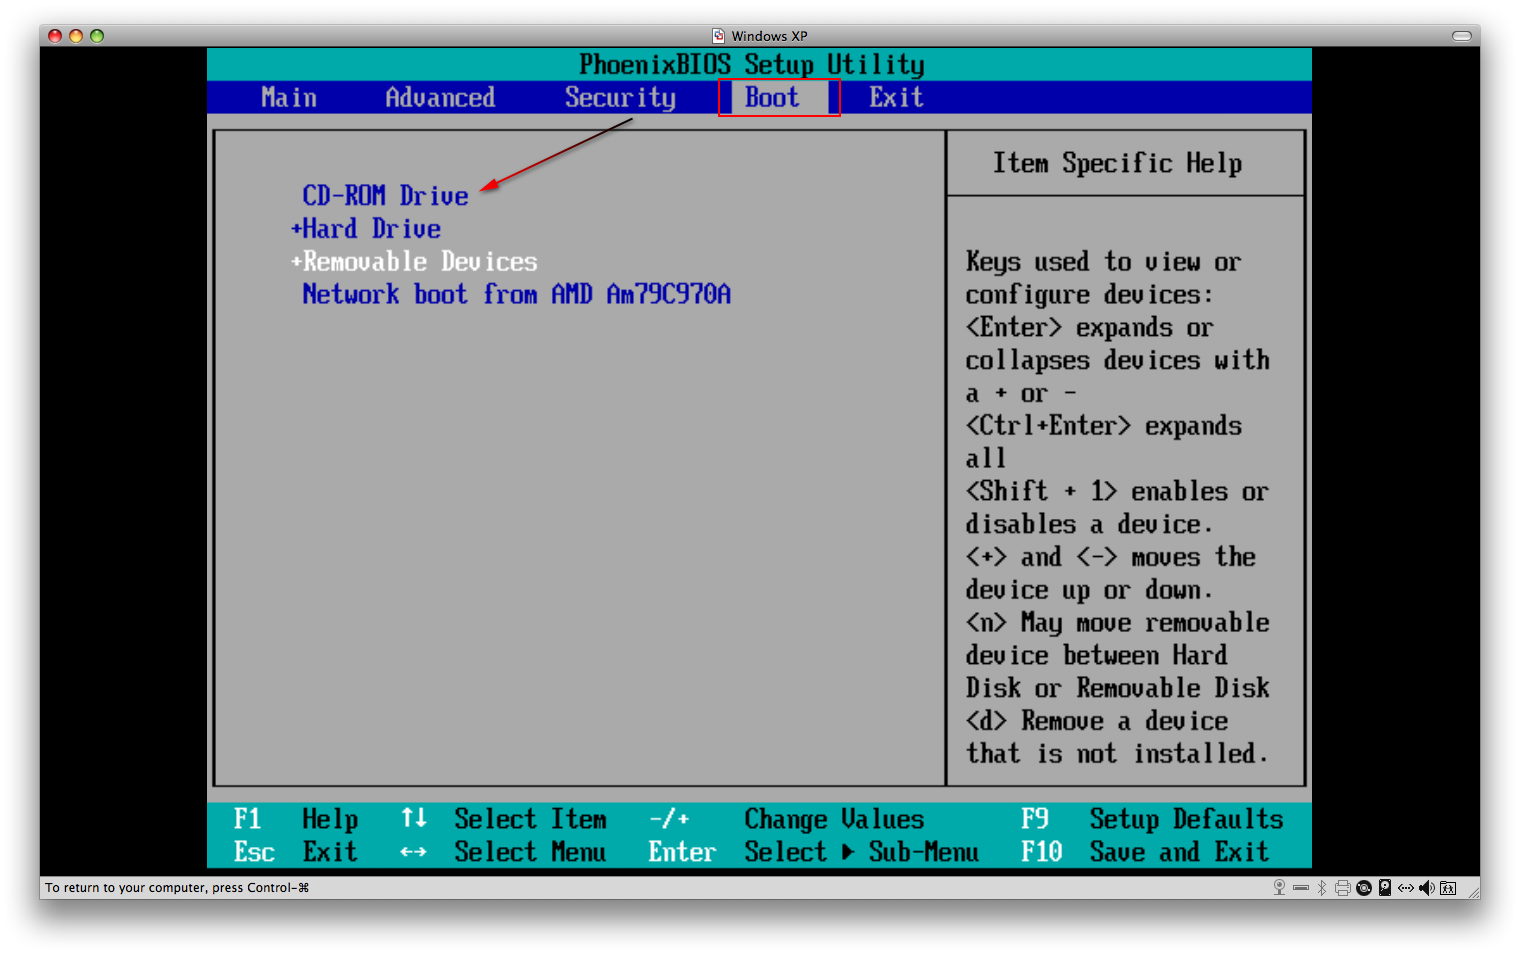
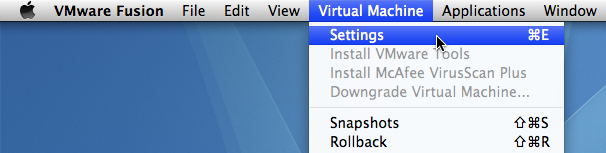
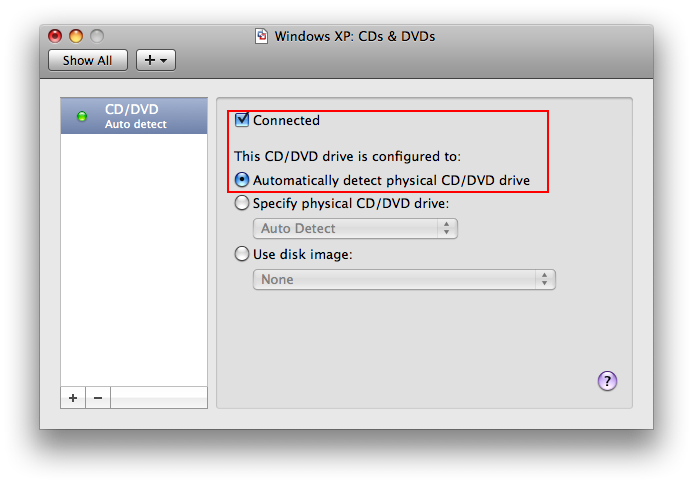
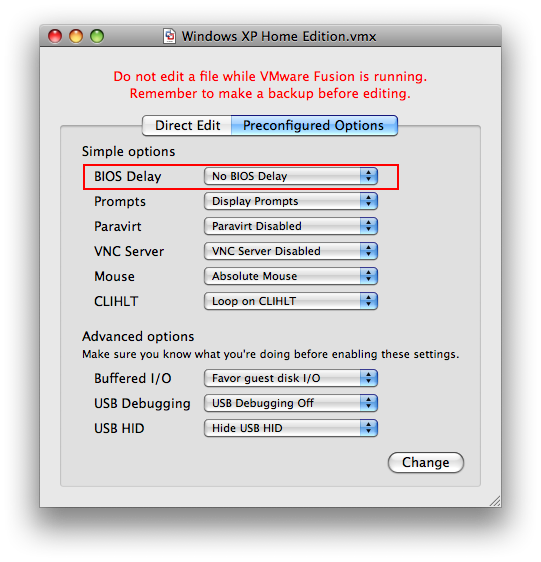
Ever since I have been using VMware Fusion, I never really thought about managing the disk space. Primarily because most of my documents and applications were stored on my Mac and not in the virtual machine partition. Therefore, when it did come time for installing applications in VMware, there were installation problems. It takes a little bit of work, but after following these instructions of which my tutorial is based on, you should be all set.
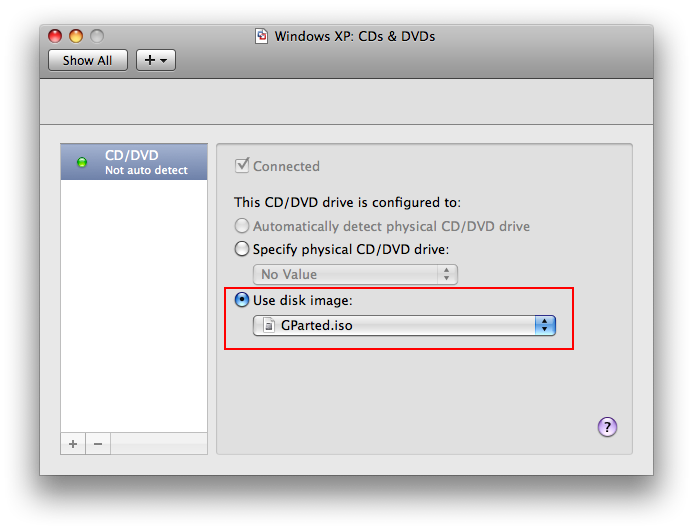
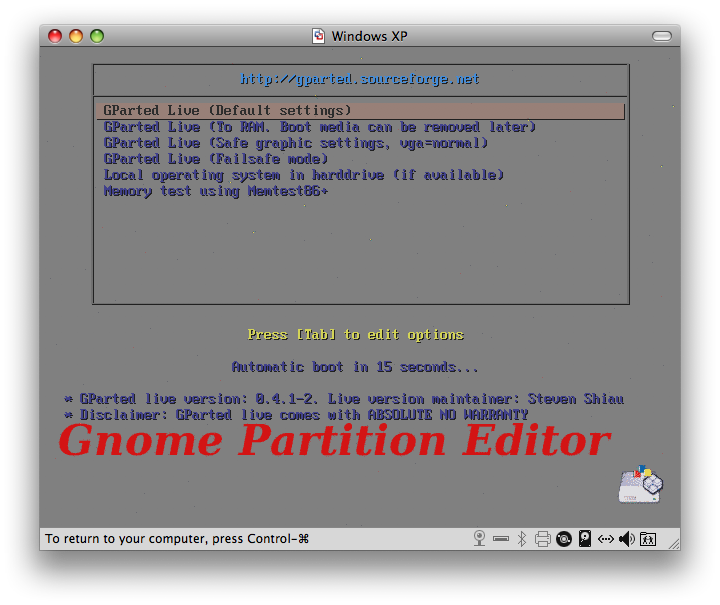
After saving your configuration, you will see the GParted intro screen.
Choose the first option, “GParted Live” (Default settings).
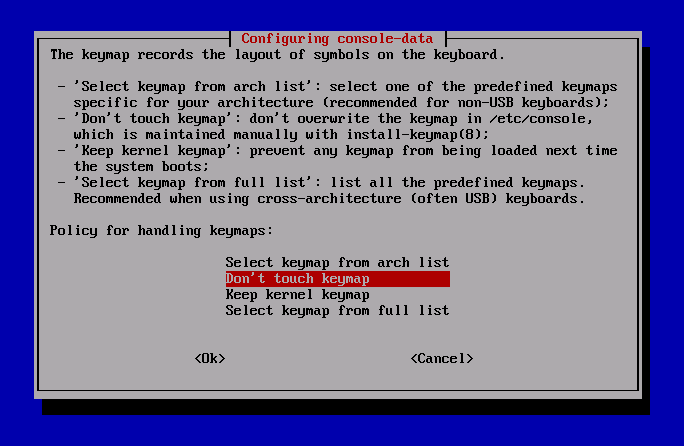
In the next pop-up screen, choose “Don’t touch keymap” and hit Return.
Hit Return when asked “Which language do you prefer?” (English is default).
Hit Return when asked “Which mode do you prefer?”.
In the GParted screen that appears, use your arrow keys (because the mouse does not always work) and arrow over to “Resize/Move”.
Now drag the slider with your mouse (if it does not work with your mouse, enter numbers for the boxes). Then hit Tab until the “Resize/Move” button is selected below.
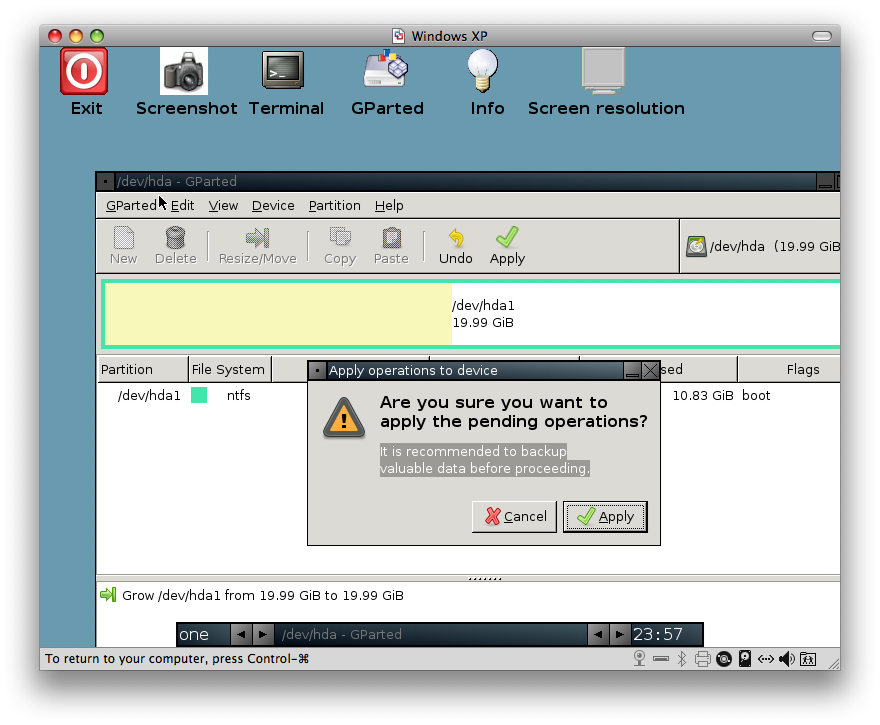
Now hit Tab once until the Undo button is selected, then arrow over to the right and select Apply and hit Return.
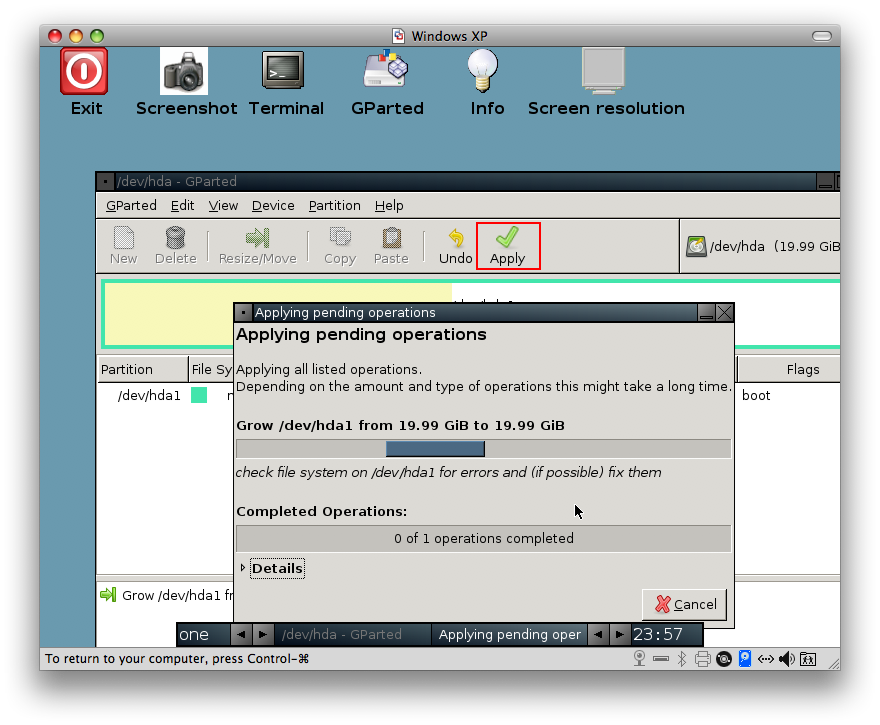
In the small pop-up window hit Tab until Apply is selected, then hit Return to apply the drive size changes.
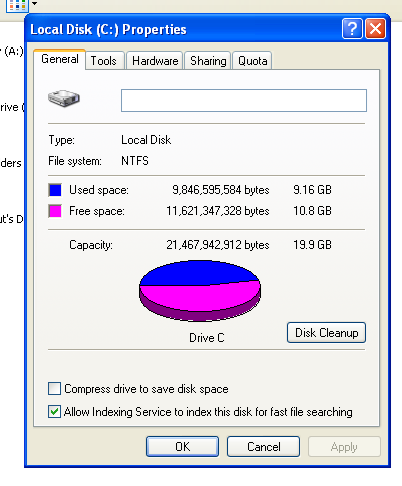
You should see a window that shows the current status.
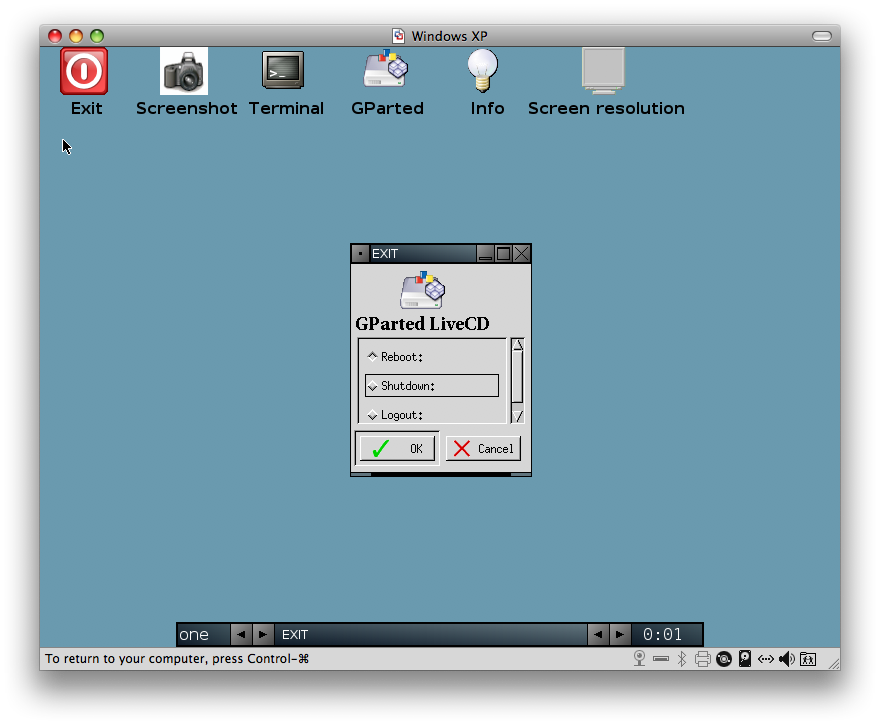
After it is done, close the window and close GParted by hovering your mouse over the Exit button and then click it when you see the black hand.
Now use your down arrow keys and choose Shutdown and hit Return.
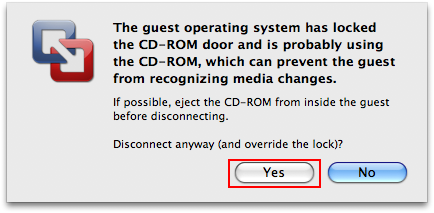
As it shuts down you may receive a message window, choose Yes and hit Return to finish the shutdown.
If Windows starts up by accident, just shut it down from the main screen.
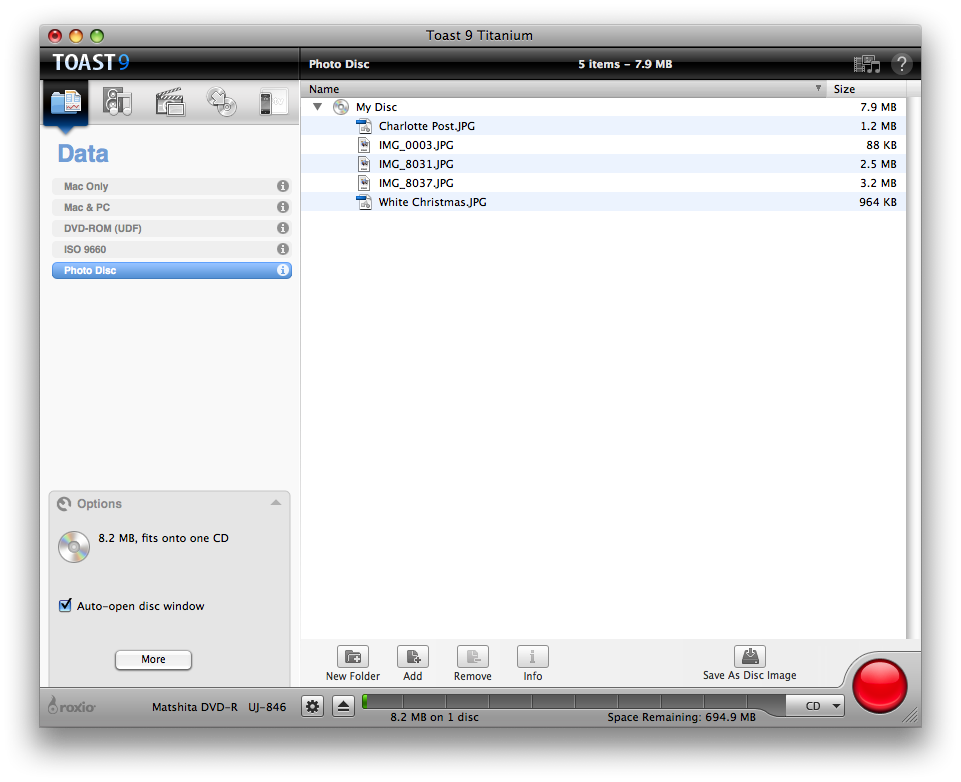
Last year I purchased Roxio Toast because I needed a customized DVD burning software for my family video project. What drew me to Toast, was the ability to fit more onto a DVD disc without sacrificing quality. After spending more time with it, I have come up with several helpful ways to use Toast to its full potential.
Importing DVD’s For Use With iPod or iMovie
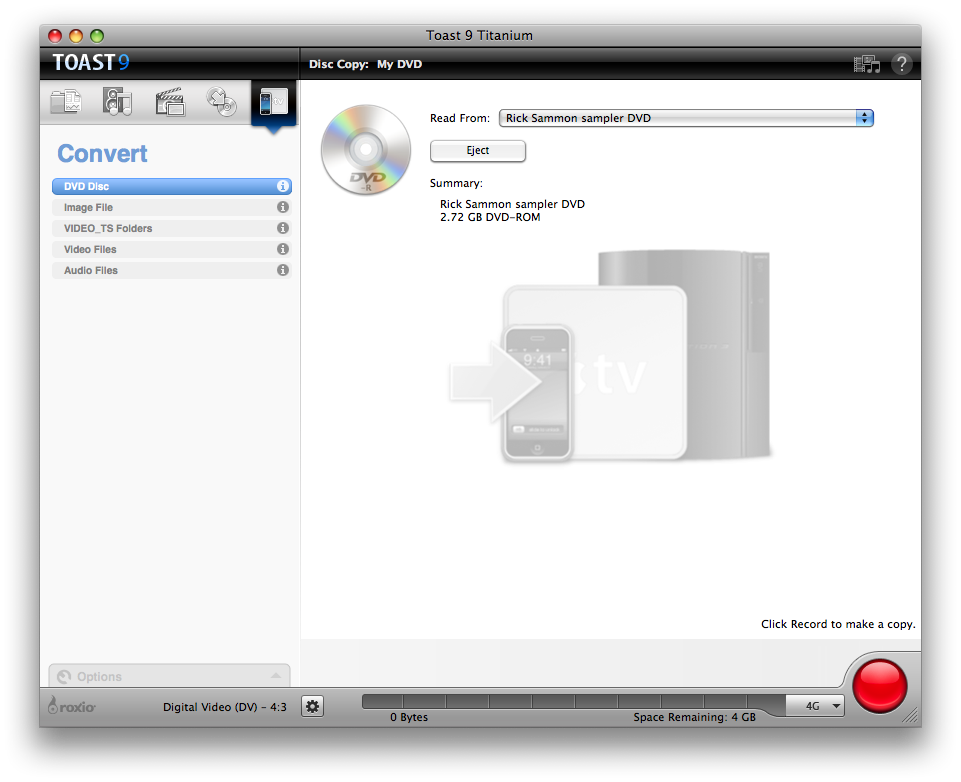
To import DVD’s into Toast, go to the Convert menu (AppleTV/iPhone icon).
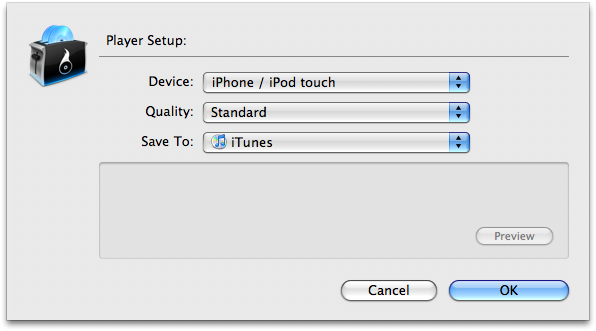
Once, you have inserted the DVD of your choice, choose how you want to export it.
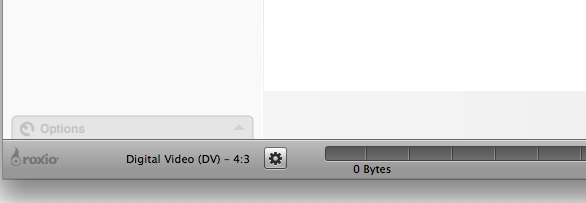
Located in the bottom left corner is a small gear icon which shows you the export options.
If you want to export the DVD for use on your iPod or iPhone, select the corresponding name under the Device drop-down.
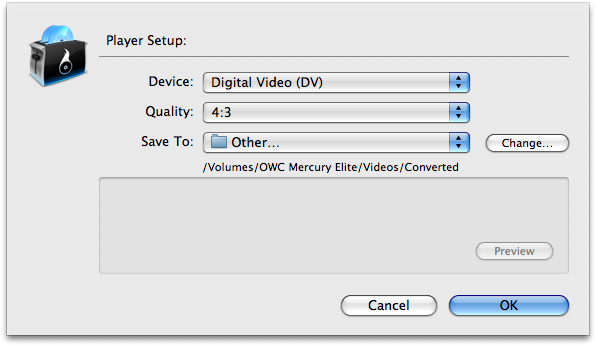
If you want to export the DVD for use in iMovie, select “DV” from the Device drop-down menu.
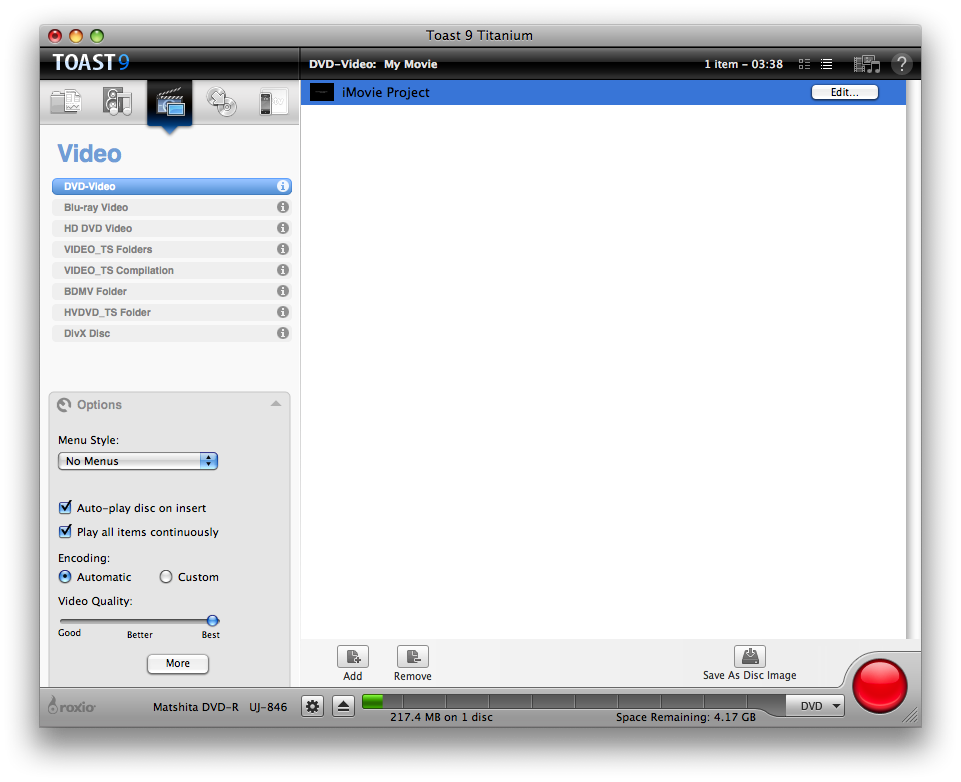
One of the key problems with iMovie is that you have to go through iDVD to burn your iMovie project onto a DVD. With Toast, you just drag your iMovie project and it takes care of the rest.
To start, locate your iMovie project in Finder.
Then, drag it into the DVD-Video section under the Video menu.
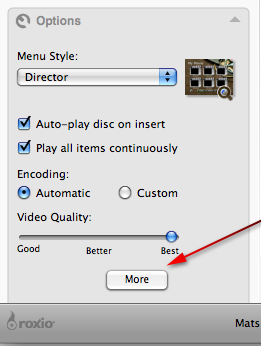
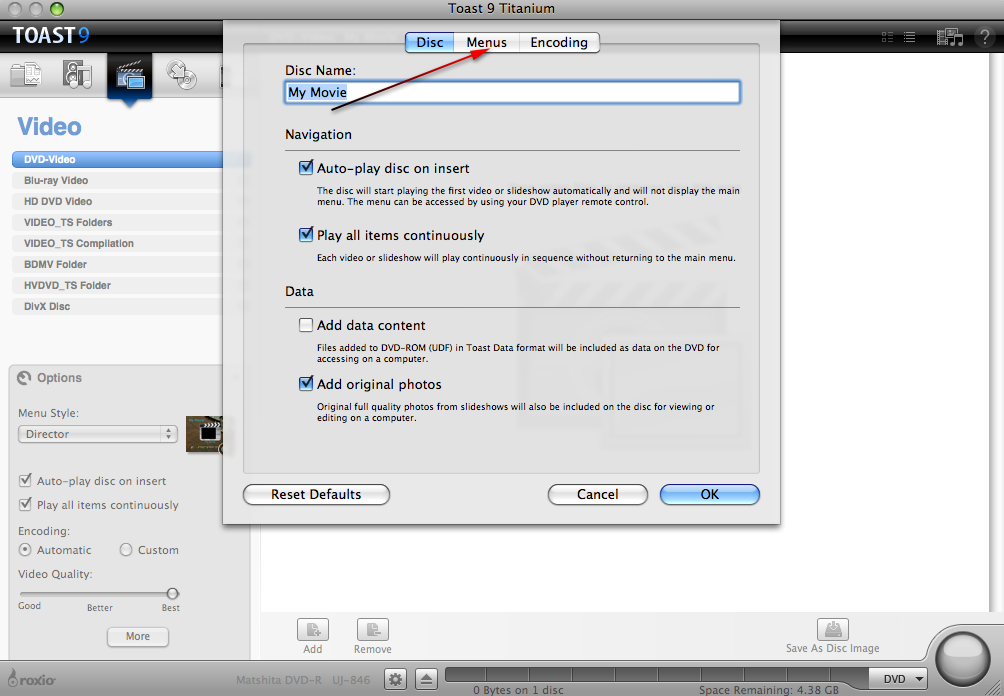
If you wish to add a menu-style you can, but you don’t have to because the disc will automatically start playing the movie.
It’s been a while since I’ve posted anything, so I’ve had plenty of time to work on some projects of my own. One has been trying to completely edit and re-organize my photo library. I have been using a mixture of iPhoto, Bridge, and Photoshop for most of photo editing needs until now. I’ve transitioned into one mainstream way of editing my photos via Adobe Lightroom. It makes things so much easier for me to quickly catalog and edit all of my pictures in one screen.
Change Lightroom’s View Mode For Easier Editing
When I edit photos, I prefer to have no distractions at all. That includes Gmail notifications in my menubar, extra panels in Lightroom, and the Mac dock. This way I can get maximum screen real estate.
Go to Window > Screen Mode > Full Screen and Hide Panels.
If want to show a panel that is hidden in one of the screen modes, just click on one of the arrows for that panel.
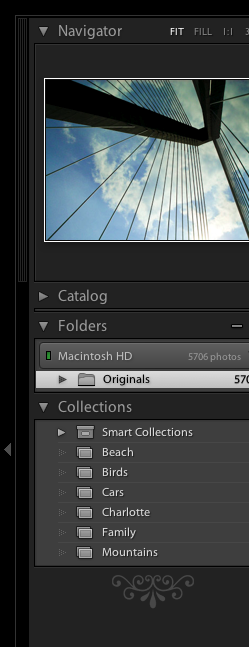
After making the move from iPhoto to Lightroom, I wanted to figure out an easier way to catalog similar pictures. Instead of making a folder for similar images, I can create a virtual stack of them. This way when I’m looking through 5,000 pictures, it takes up less space in the library window.
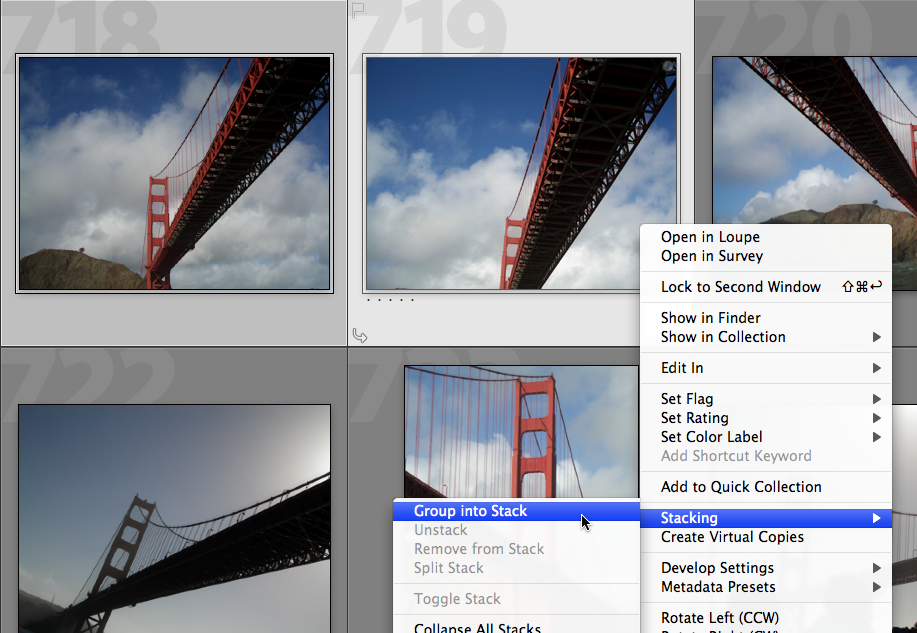
Select images in the library that are of the same thing or very similar in form.
Right-click and choose Stacking > Group into Stack.
Since I’ve probably used this about fifty times now, it makes it easier to add a keyboard shortcut for this command. Read my article on making keyboard shortcuts if you want to know how.
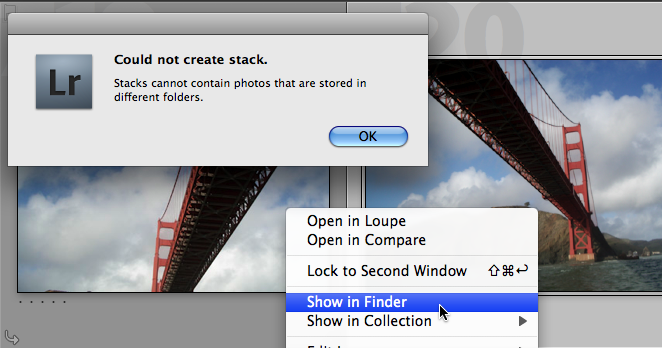
If you get a pop-up that says “Could not create stack”, right-click on the images you want to stack and choose “Show in Finder”. Now move them to the same folder.
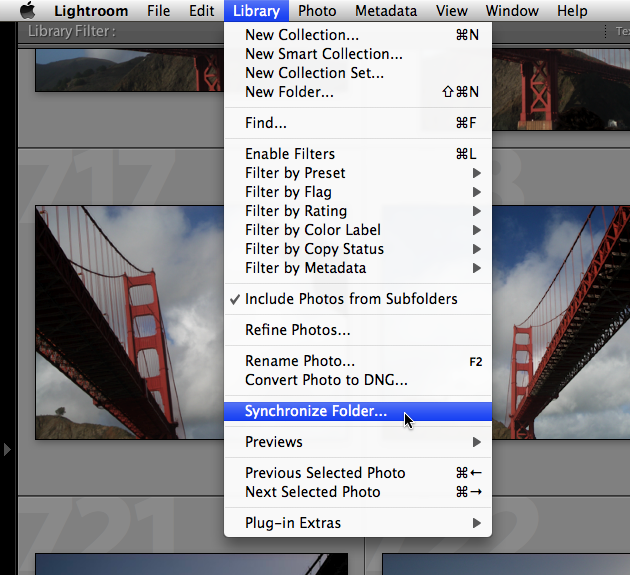
Then synchronize Lightroom so the changes appear. Go to Library > Synchronize Folder… and it will sync the library with the selected images.
Keyboard Shortcuts To Be More Efficient In Lightroom
As you know, I love using keyboard shortcuts when possible. Not only does it improve your proficiency with the application, but it also makes editing images a breeze. I’m only giving just a few because these ones are the ones I use the most.
When you are in in any screen and want to quickly get back to your library, hit the ‘G’ key.
To move to the Develop panel, hit the ‘D’ key.
To quickly adjust the screen mode, hit the ‘F’ key and shuffle through the different modes.
To rate pictures for faster searching later on, just hit the number (1-5) on your keyboard.
To add a color label to your photos, just hit the number (6-9) to on your keyboard.
To quickly compare two selected images, tap the ‘C’ key.
To rotate an image 90° clockwise, hit ⌘ (Command) and “]” and to rotate an image 90° counter-clockwise hit ⌘ (Command) and “[“.
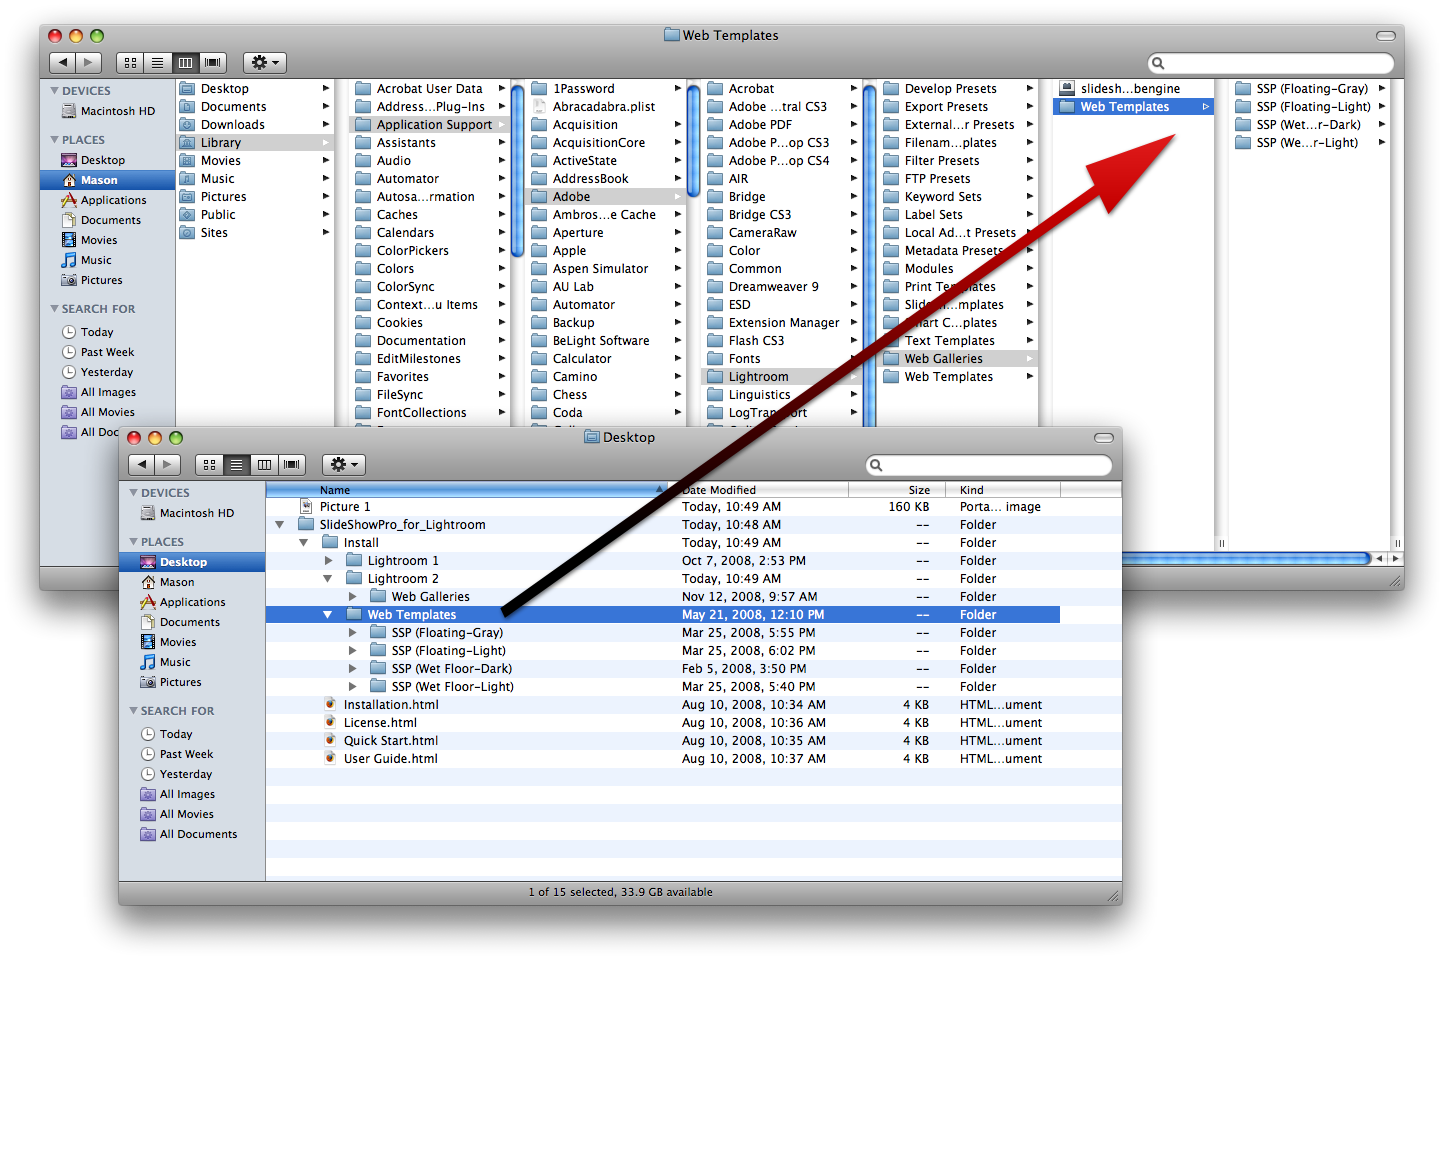
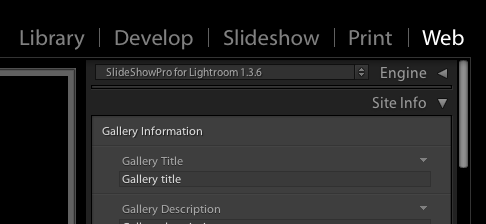
Use SlideShowPro To Make Your Own Professionally Designed Web Galleries
Ever since I got back from recent vacation, I’ve been looking for an online service to share my pictures on. Most of the ones I looked at had either limited storage (Picasa) or a generally basic interface. SmugMug was nice, but not quite at my level of customization. Then I thought I’ll just host my own gallery with my website because it’s easier, faster, and cheaper thanks to SlideShowPro.
When I got my iPod touch, the one thing that frustrated me was the email function. I have several email accounts — work, personal, and the one that comes with my ISP. The only problem was none of these accounts worked with the iPod touch’s Mail application because they require the use of my ISP to send outgoing messages. Thankfully, incoming messages can be received anywhere with a Wi-Fi connection.
About a year ago, I signed up for a Gmail account and really never got to using it because I already had email accounts. Recently, I thought I’d give it a shot and see if I liked it — and surprisingly, I did. For a web application, the customization is almost endless — from themes, to keyboard shortcuts, to calendars, ‘to-do’ lists, and more. After downloading the Gmail Notifier for Mac OS X, I felt satisfied with using Gmail as my main email. Then I had to figure out what to do with all my other email accounts…
Thankfully, Gmail is so customizable that it allows auto-forwarding of your other email accounts. Perfect. Now, I can use Gmail as a “hub” for all of my email accounts. What if I want to send emails using one of the other email accounts’ addresses? Easy. Gmail allows you to add your mail accounts and send mail using those email addresses through Gmail. Now you must be asking how I did all of this? Here’s how:
Get Mail From Other Email Accounts
Sign into your Gmail account, or if you do not yet have one, sign up for one.
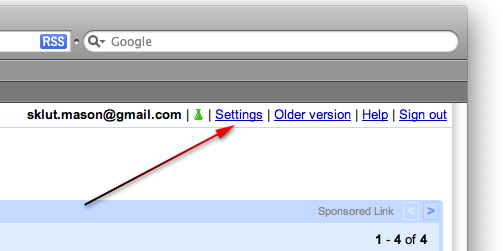
Click on the Settings link in the top right corner of the screen.
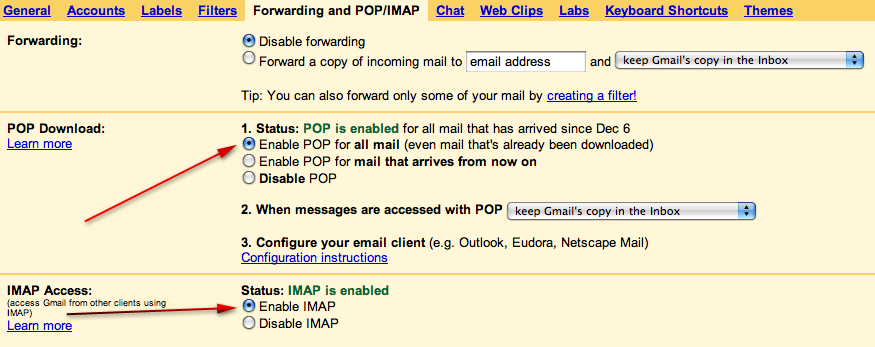
Enable POP and IMAP under the Forwarding and POP/IMAP section.
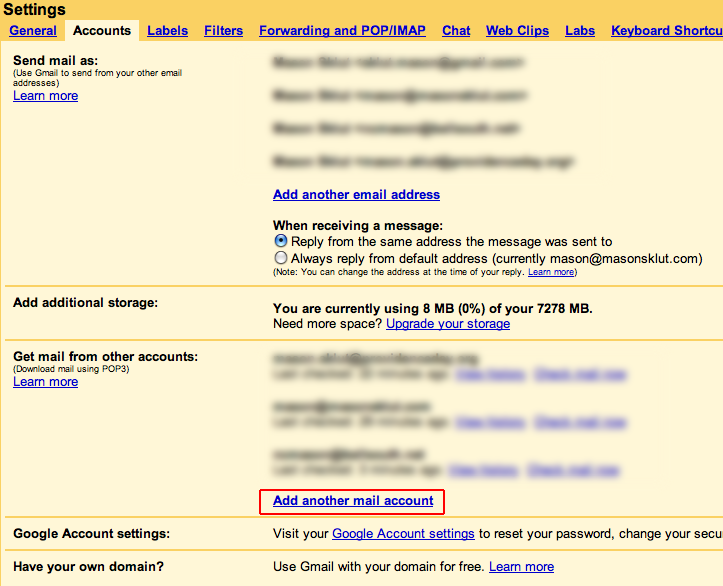
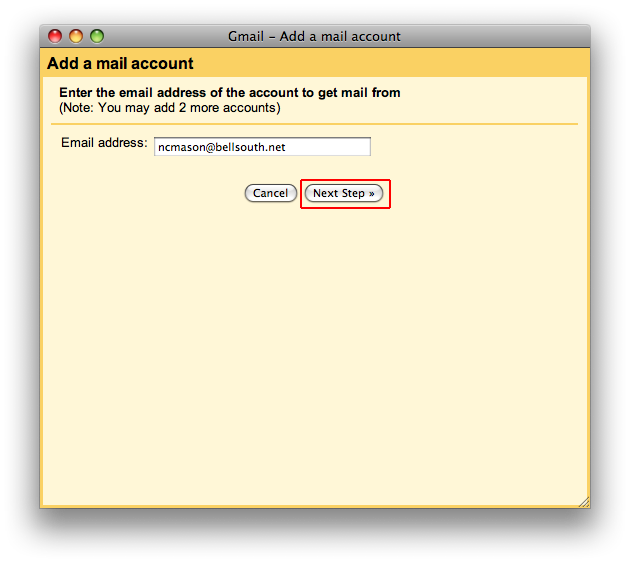
Now, go to the Accounts section and click the “Add another mail account” link under “Get mail from other accounts:”.
Type in your email address and click Next Step.
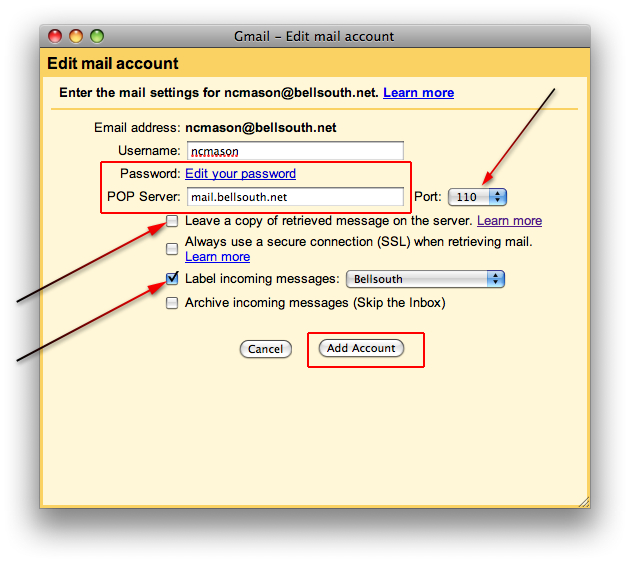
Enter the correct settings for those email accounts.
Also, I recommend that you make a label for those emails by checking off “Label incoming messages:” and selecting “New Label” from the drop-down menu.
If you Gmail to remove the email message from the other email accounts after it has been forwarded to Gmail, un-check “Leave a copy of retrieved message on the server”.
Now add the account by clicking the Add Account button.
One more thing I should tell you. If you are planning to use Gmail on your iPod touch, make sure you add the account manually so you can use IMAP. Otherwise, the Mail.app on the iPod touch automatically uses POP. The beauty of IMAP is it allows you to sync your mail with your devices (laptop, iPod touch, work/home computer, etc). Follow Google’s instructions so you won’t get confused.
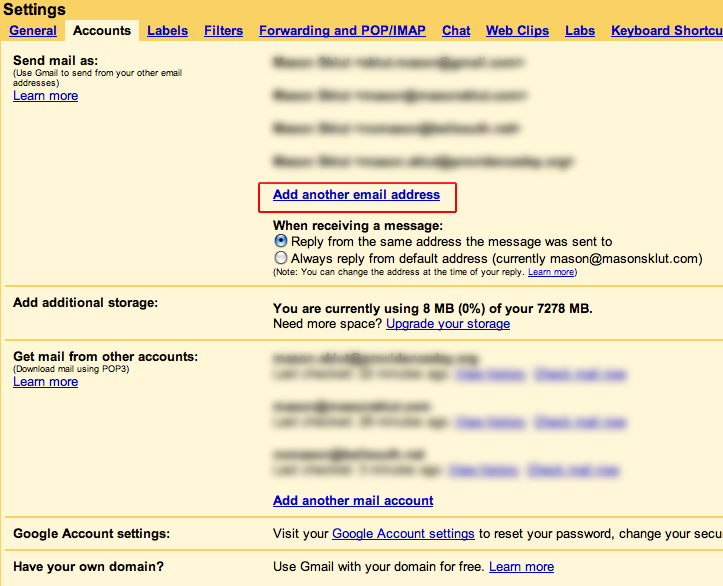
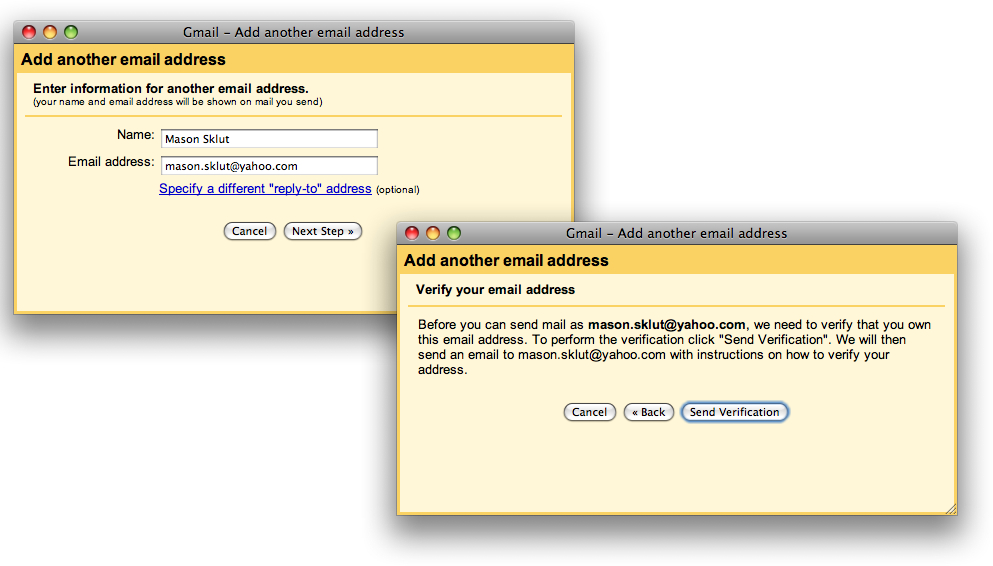
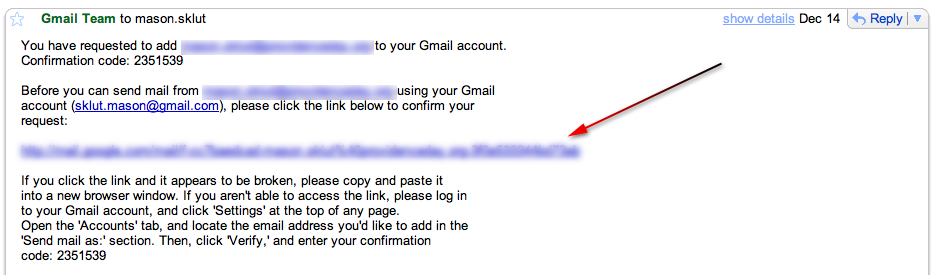
If you want to be able to send mail from your other email addresses, you can do that from Gmail’s website (choose “From” drop-down menu when you compose mail). If you’d like to reply to the message using the same email address it was sent to, read these instructions. You can also make a default email address from Gmail by clicking “make default” next to the email addresses under the ‘Send Mail As’ section in Accounts.