One of the greatest things about iLife is the simplicity of the applications included within it. Whether it be iPhoto, iMovie, iWeb, GarageBand, or iDVD, each application has a very intuitive user interface that makes it easy to use. However, there are times when it can be a little bit confusing to do certain tasks. I will admit, I still use Toast Titanium for anything going onto a DVD, including photo slideshows, movies, and music. Creating photo slideshows within iDVD are rather easy, so I want to show you how to make them:
Create a New Project once iDVD opens up.
Choose a Theme from the sidebar.
Go to the “+” icon in the bottom left corner and choose “Add Slideshow”.
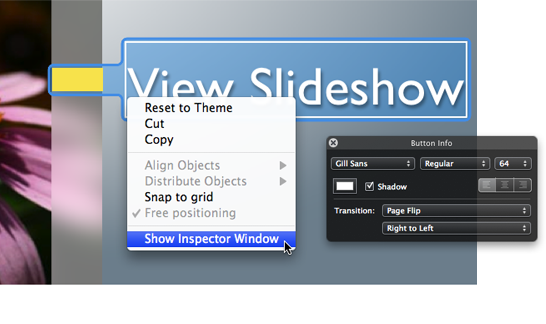
Select the button text and edit it to your liking. To change the font, right-click on the text and choose “Show Inspector Window”.
Edit the Drop Zones (i.e. Background images) by going to “Edit Drop Zones” under Project. Then drag images onto the Drop Zones.
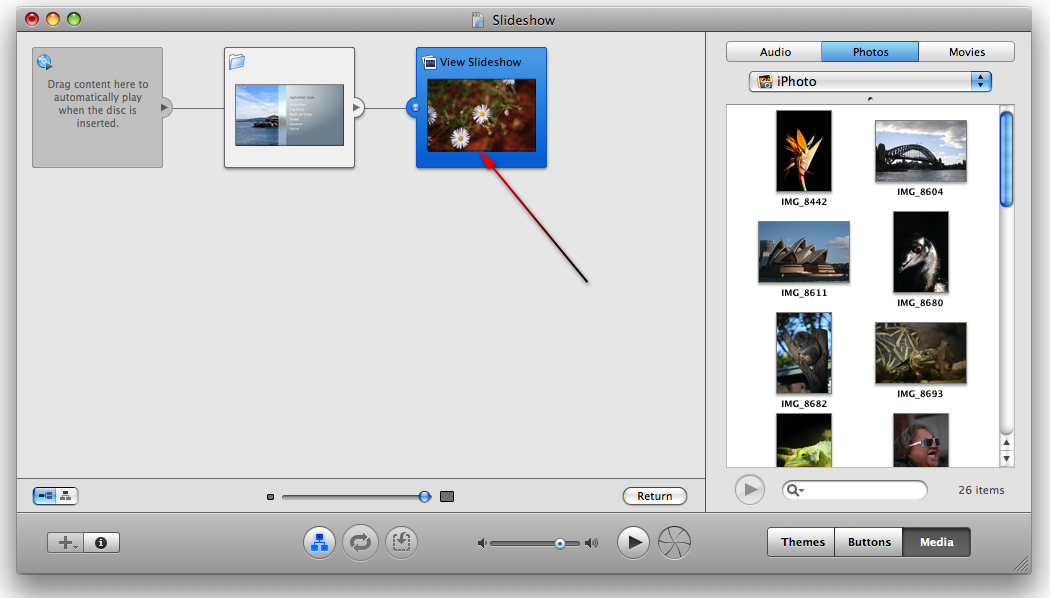
To setup the slideshow, hold down Shift + ⌘ (Command) + “M” or go to View > Show Map.
Now click the “View Slideshow” thumbnail.
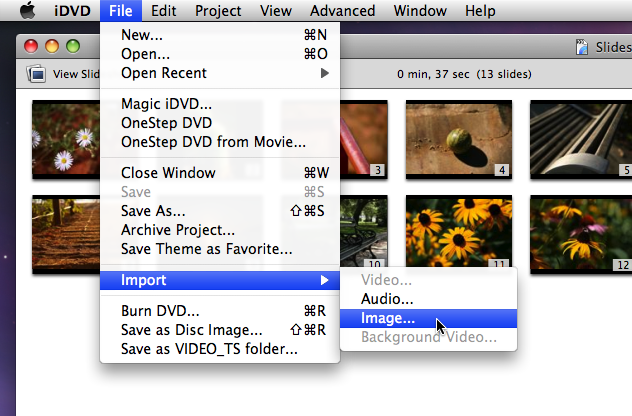
Import or drag the images into the window that you want to use for the slideshow.
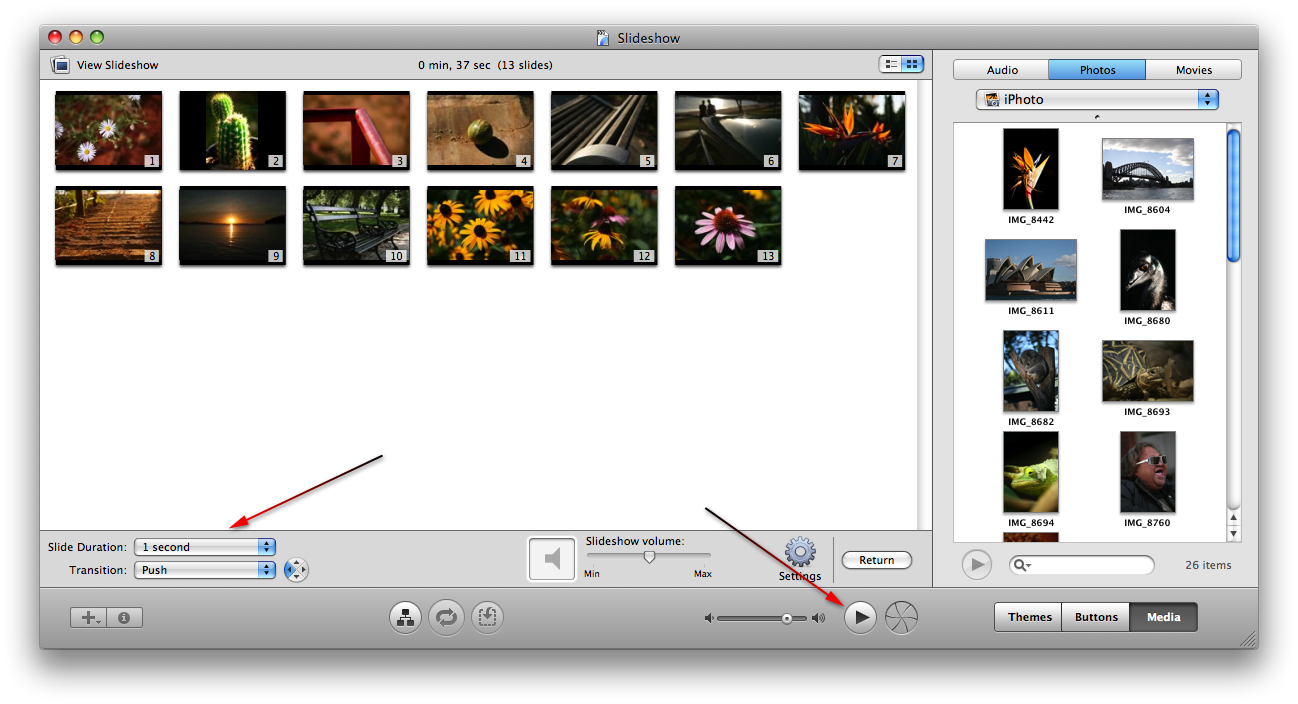
On the bottom of the View Slideshow window, adjust the settings for Slide Duration and Transition.
Click the Play button.
Once you are satisfied with the outcome of the slideshow, insert a DVD and click the Burn icon located next to the Play button.
After iDVD has completed burning the DVD, it will let you know.
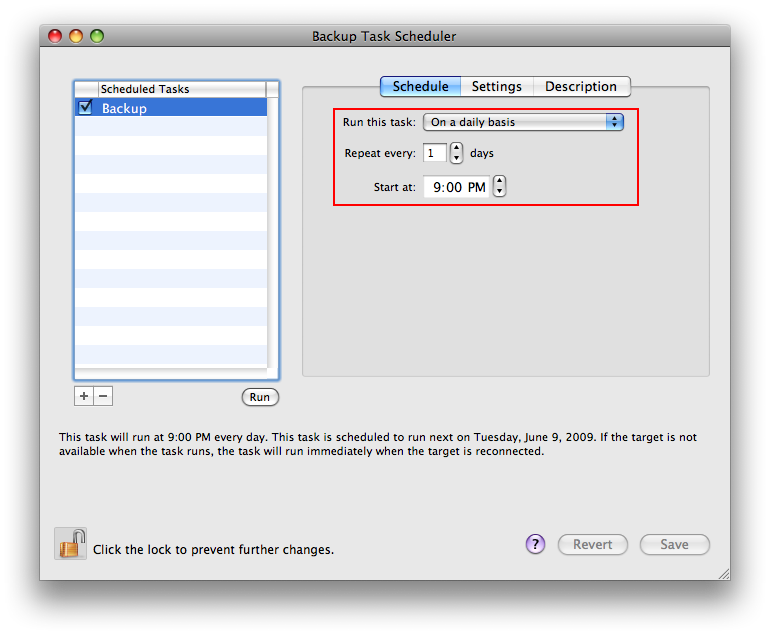
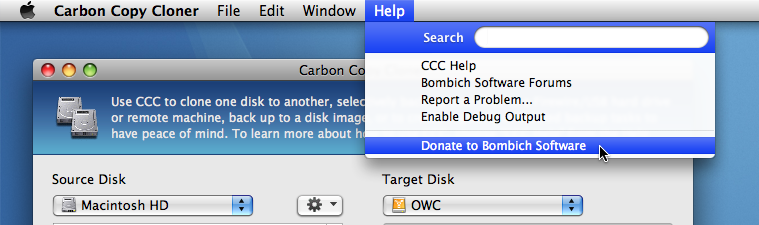
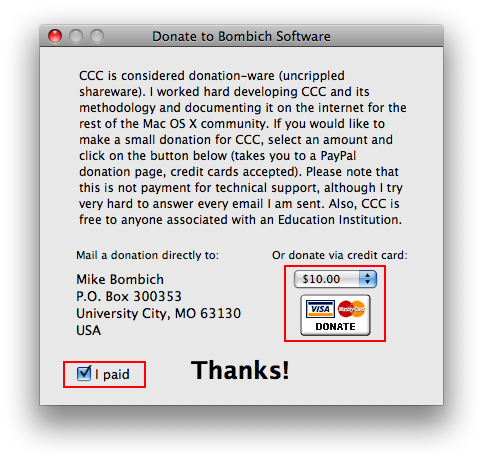
For many computer users, backing up your information should not be something to forget. It’s actually something many people are fairly lazy about or they just don’t think that they will lose their data. Thankfully, when Apple released Mac OS X Leopard, they included Time Machine, which backs up your files automatically. I stopped using Time Machine because it was taking up too much disk space on my external hard drive due to the way it was made to work. It backs up files that were changed, but it still for some odd reason, does not do it right. Carbon Copy Cloner, on the other hand, works like a charm. The first time you use it, it makes a complete copy/clone of your Macintosh HD. Then whenever your next backup is scheduled it backs up only files that have been modified. Carbon Copy Cloner also comes in handy when your Macintosh HD won’t boot up because it creates FireWire-bootable backups. I’m just going to share a few tips on using the application and why it’s a must for any user.
One of my biggest concerns when I first got Lightroom was how I was going to order prints online as I was able to do with iPhoto. Surprisingly, this task can be done fairly easy thanks to Lightroom’s exporting features. Here’s how:
Open up iPhoto and to Preferences > Advanced.
Make sure “Copy items to the iPhoto Library” is unchecked, this prevents unnecessary space from being taken up on your hard-drive by duplicate pictures.
Now, go to Lightroom and select the images you would like to order prints with.
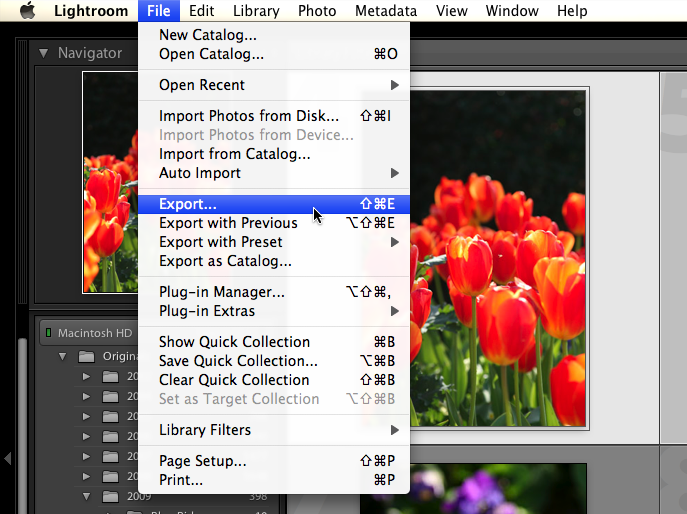
After selecting those pictures, go to File > Export…
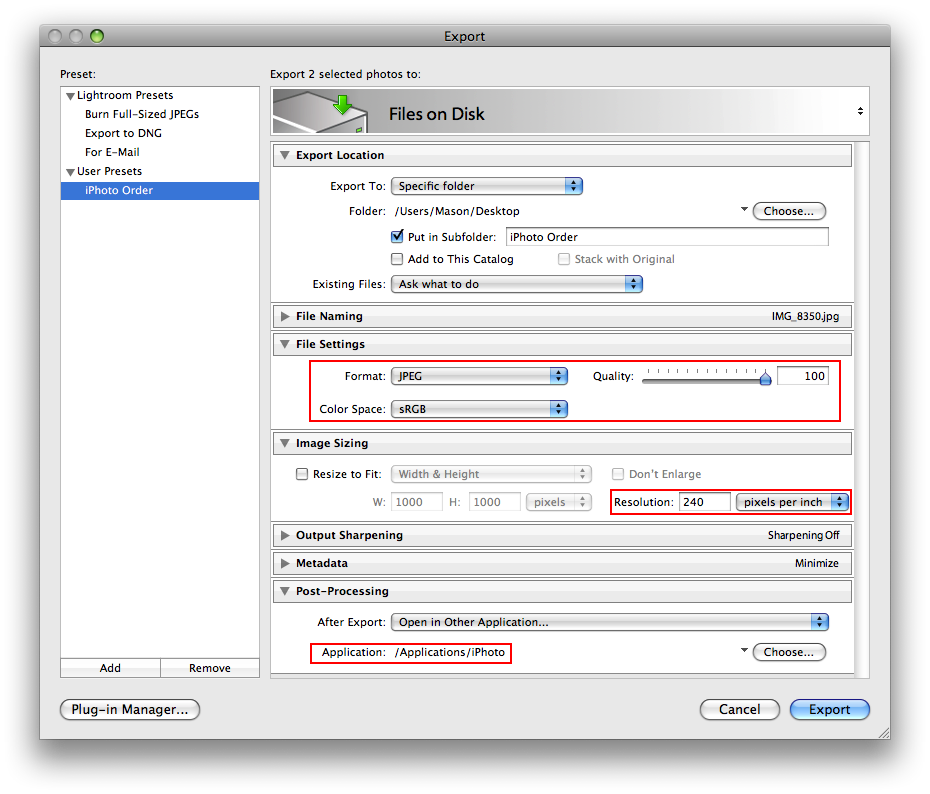
In the Export window that appears make the following changes (leave the other settings as they are):
Under Export Location: select Specific Folder (Choose Desktop) in the Export To drop-down menu and check off “Put in Subfolder” (titled iPhoto Order).
Under File Settings: make sure to select JPEG in the Format drop-down menu, drag the Quality slider to the max (100), and select sRGB under the Color Space drop-down menu.
Under Image Sizing: uncheck “Resize to Fit” and type in 240 (recommended default by Lightroom) for the Resolution.
Under Post-Processing: choose “Open in Another Application” under the After Export menu; choose iPhoto.
To save you time in the future, save these settings as a Preset by clicking the “Add” button in the bottom left corner.
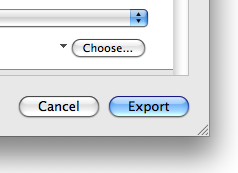
Then click the Export button.
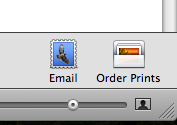
Once the pictures have been successfully imported in iPhoto, select them and choose the “Order Prints” button in the bottom right corner on iPhoto.
One of the reasons why I purchased an iPod touch was for the ability to watch movies. The screen was much bigger on the iPod touch making it a lot easier to view a full-length movie. I have many movies on my computer as well as a large DVD collection, all of which I wanted to somehow get onto my iPod touch. Thanks to a wonderful app called Handbrake, I can now easily convert DVD’s and other movies on my computer to use on my iPod touch. Not only does Handbrake convert DVD’s to the iPod format, but it also converts to PSP, Xbox 360, AppleTV, iPhone, and for use on your computer. Here’s how:
Download the Handbrake application if you have not already done so.
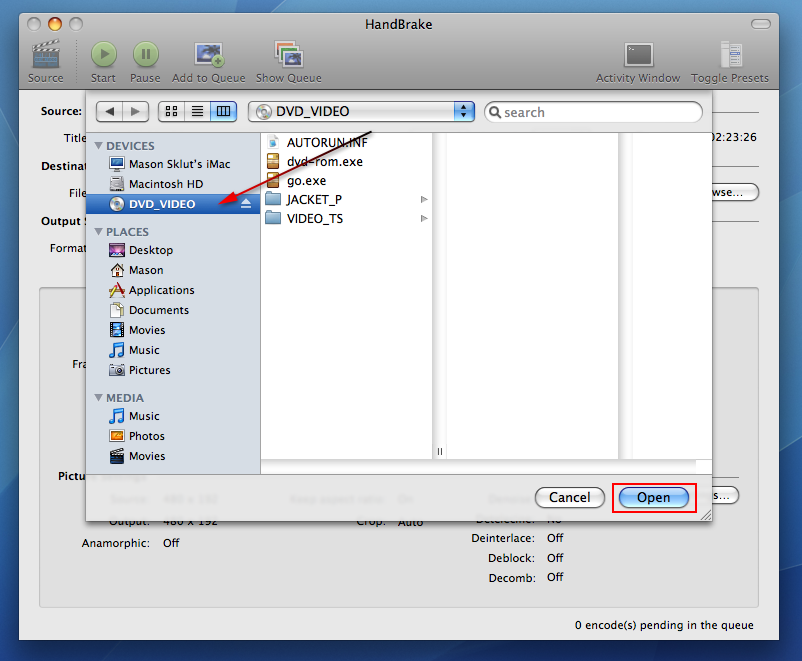
Insert a DVD into your computer or locate the movie on your computer you would like to convert.
Open up Handbrake and select the movie.
It will scan the movie and then show the information about the movie concerning the time, chapters, and titles.
If you are using a TV series DVD (e.g. Seinfeld) you have to be very careful about how to select the titles because there are multiple episodes on each disc.
In this situation, select the title number from the “Title” menu, change the name of the file name under “Destination” to correspond with that title number (e.g. “Users/Mason/Desktop/Movies/Seinfeld Episode 1” for Title1, etc). Then, you must click “Add to Queue” after each time you change the name and title.
Usually, there are out-takes, extras, or what not towards the end of most TV series DVD’s. Make sure don’t select those if you don’t want them.
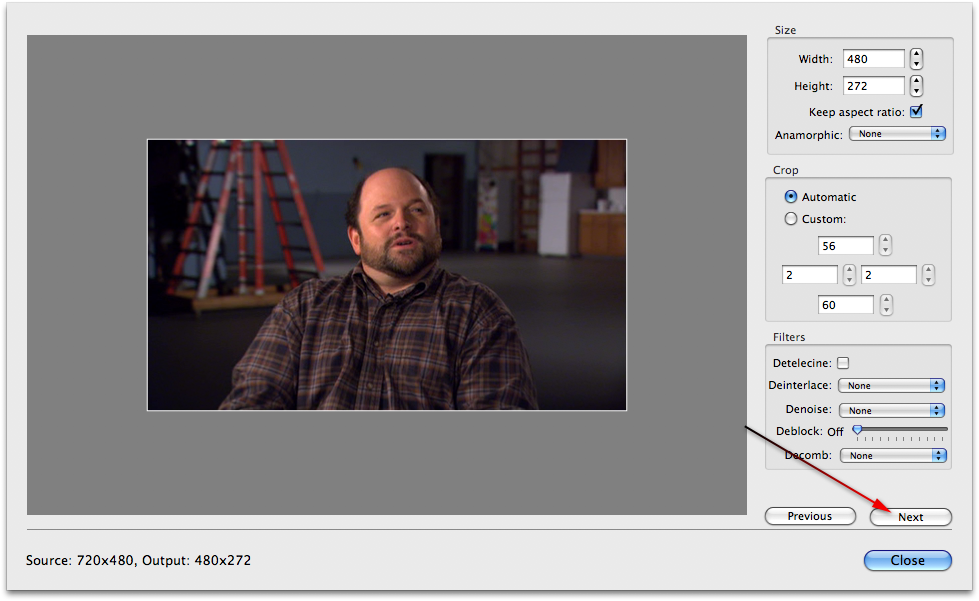
To make sure you are selecting the right title numbers, just look at the time of the title (usually short times) and if you still aren’t sure, click the “Picture Settings” button and it will show you snapshots of that title.
Click the “Next” button in the bottom right corner in the Picture Settings window and you can browse through the scene to double-check if it’s the scene you wanted.
After you have added all the correct titles and corresponding file names to the queue, select the “Toggle Presets” button and choose the format you want to convert the video to.
For example, I would choose Apple > iPhone & iPod touch if I wanted to use the video on my iPod touch.
Once you’re done with that. click “Show Queue” then click “Start”.
The biggest trick is to make sure you are always choosing the right titles and then adding them to the queue with the right file name in sequential order.
Movies that already on your computer are ready to convert once you’re in Handbrake: just choose a format (iPod, PSP, etc), a destination for the converted movie to go, and then click Start.
This past year, I’ve been doing lots of reading mostly from two of my favorite authors: Daniel Silva and David Baldacci. Due to how books are printed nowadays, I find it much easier read a hardcover book than a paperback. The font size and line spacing is much larger with hardcover books. The only setback with purchasing hardcover books is the hefty price tag. Thanks to the online store, Amazon, purchasing hardcover books has never been easier. This is more of a personal experience I’m going to share with shopping on Amazon. First off, let me tell you that buying used books is not a bad thing. In fact, I’ve purchased over 15 used books these past two years on Amazon, saving me well over 200 dollars. Here are several pointers I have about finding the best deal for used books for when you go onto Amazon.
Search for the book that you would like to purchase.
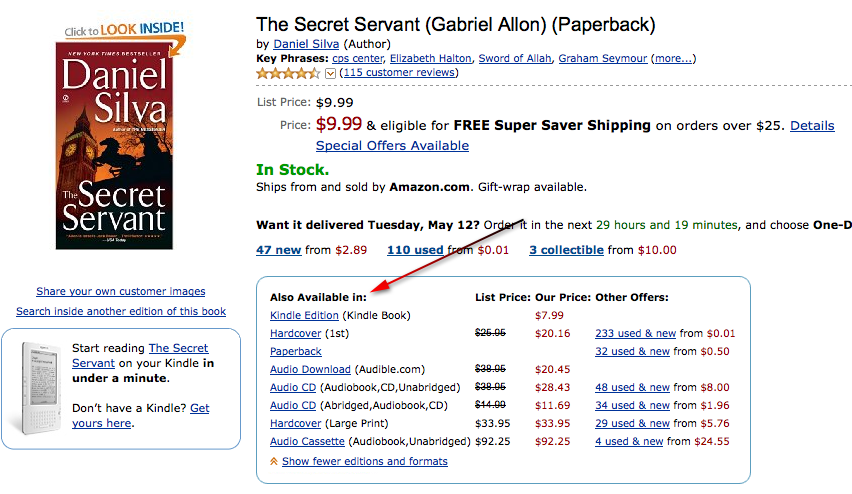
When you go to the page that shows the book you want, look for a round box that says “Also Available In”.
If there is not a box, then just click the used link.
The reason I like to use the box is that is where you can find the hardcover versions.
When you see the version of the book you like, just click the link next the type of book you want.
For example, if I wanted Hardcover, I’d click the link in the Other Offers column that is directly across from “Hardcover”.
After you click that link, a new page will load with all of the used, new, and collectible versions of the book.
If you want the best deal, browse through the used/new selection and try to find one under a dollar — most of the time you will.
Even is if it is a used book, most are in readable condition (just read the user comments to make sure).
Once you’ve found the book, just add it to your cart.
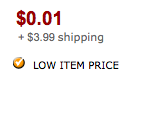
If you do the math, buying a brand new hardcover would have cost me about $25 at a local bookstore. Instead I payed $4 for a used book ($0.01 for the book + $3.99 for shipping). Pretty good reason to use Amazon, right?